How to build midi-NFT grow-pod
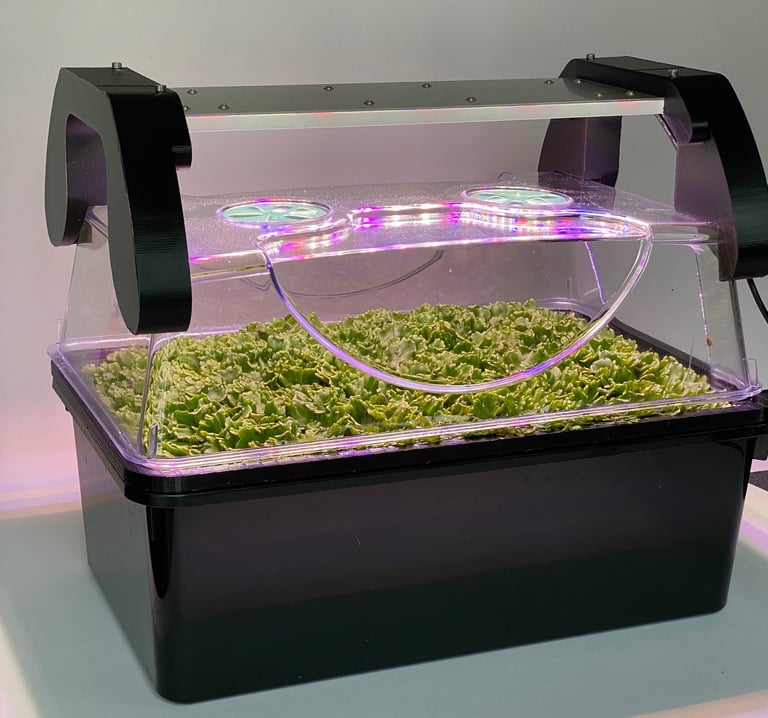
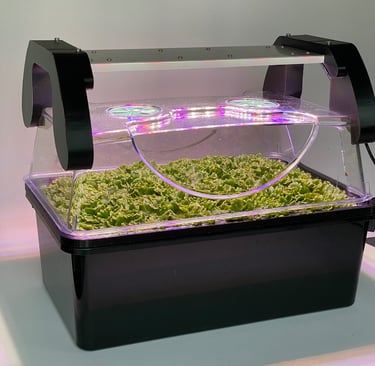
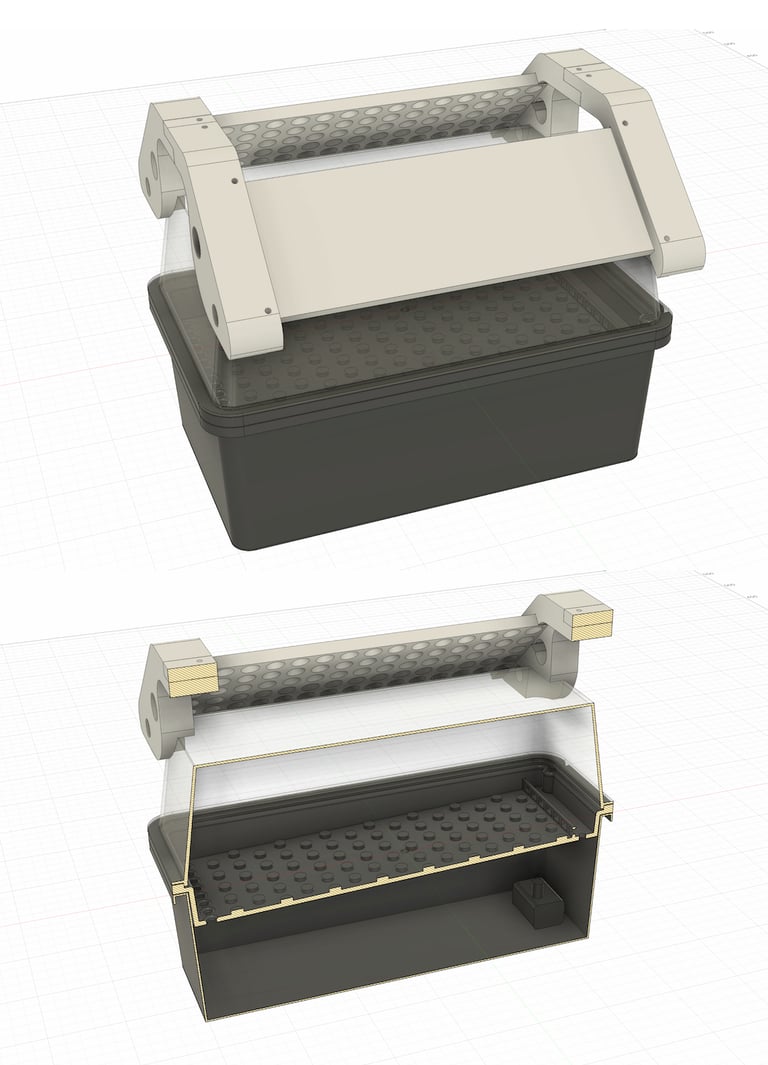
The general principle of building self-contained hydroponic units for Marchantia can be scaled up by adopting different size vessels for media reservoir, NFT tray and lighting system. Here I describe instructions for building systems based on a deep 38cm long propagator made by Garland Products in the UK. This larger system is built using the same idea of stacked elements as the Mini-NFT system, and includes a transparent lid and custom supports for a multi-spectral LED grow-light panel.
1.Vessel
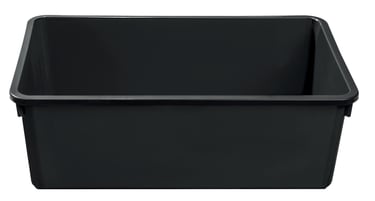
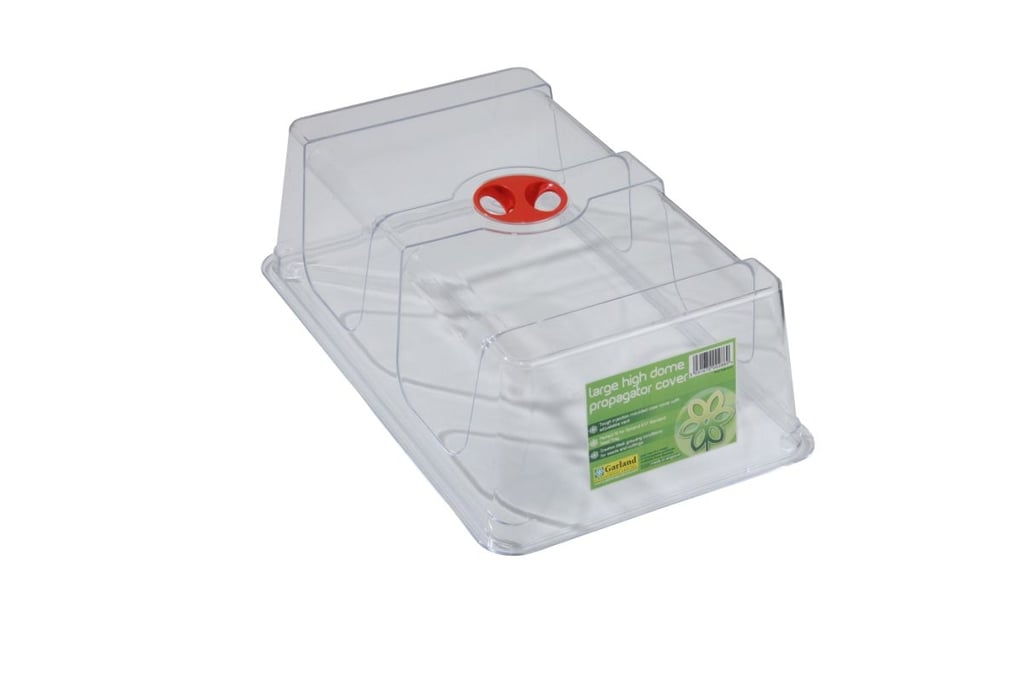
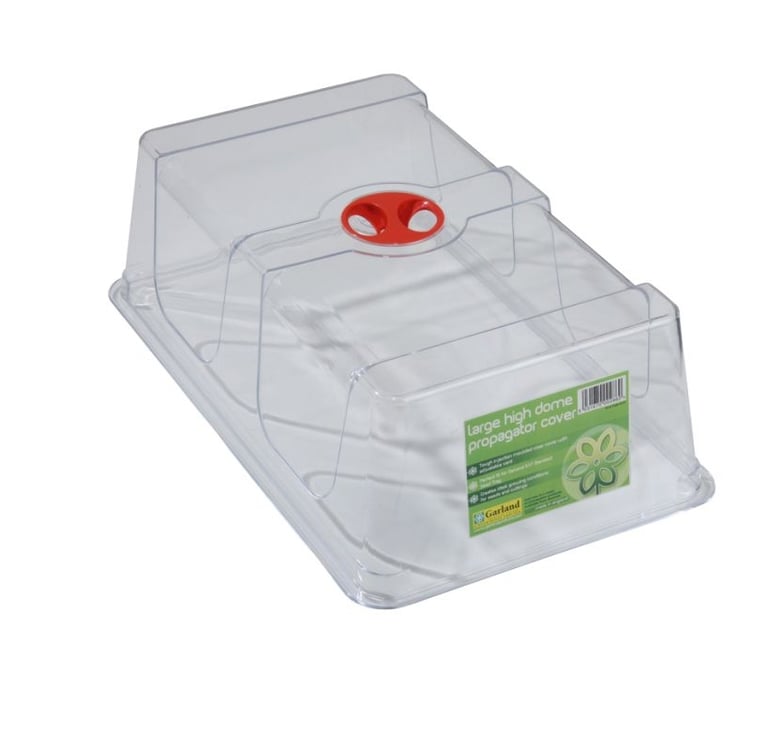
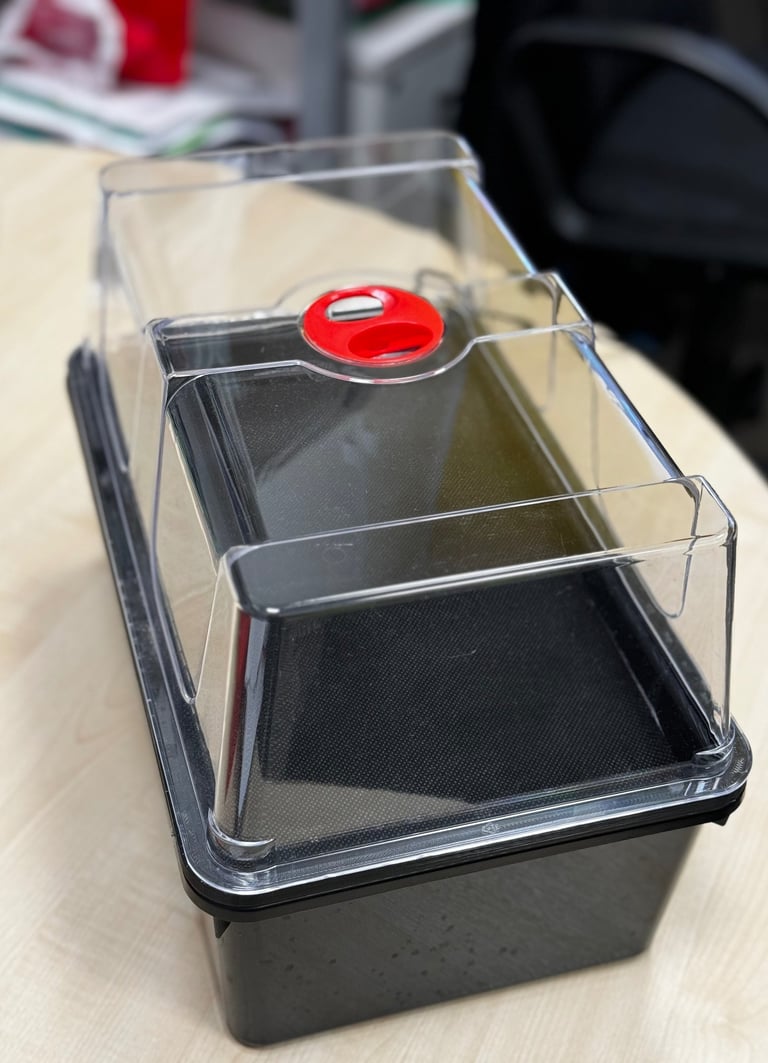
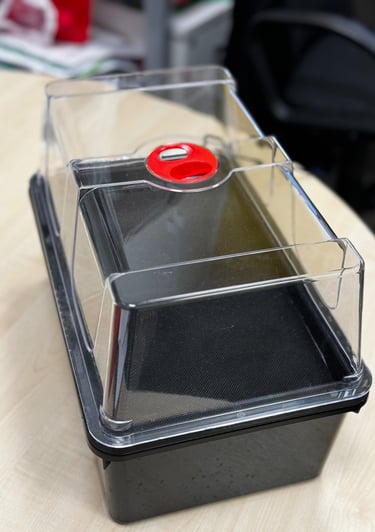
Garland Products produce deep injection moulded trays with dimensions: 37.5cm (15”) long, 23cm (9”) wide and 12.5cm (5”) high (product code G243B, £3.00). These are deeper than most propagation trays, and suitable as vessels for holding ~4L hydroponic media. In addition, Garland can supply transparent, vented propagation lids that will fit this base (product code G137, £6.50). Garland is a major manufacturer of garden products in the UK, and the components are widely distributed.
If an alternative needs to be sourced, the important features to look for are (i) depth of the vessel - deeper vessels make handling and maintenance easier, and (ii) availability of a suitable propagator cover - although the design of the 3D printed NFT tray can be used to 'adapt' small differences in size between the stacked base-NFT tray-lid set.
The use of a propagator lid helps keep high humidity around the growing plants (this is helpful during spore production, to minimise dehiscence of sporangia), and also act as shield to help keep uninvited insects away. Vent(s) in the propagator lid are important to stop excessive condensation. I've also built open designs which dispense with the lid, and simply suspend an LED panel over the exposed growing surface.
2. Midi-NFT tray
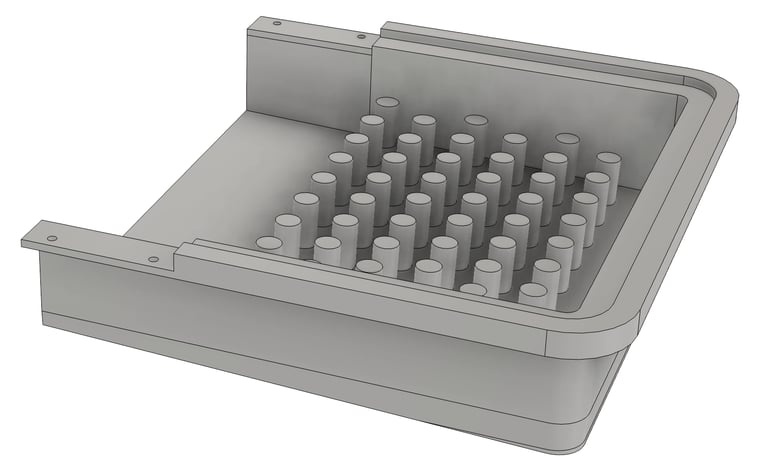
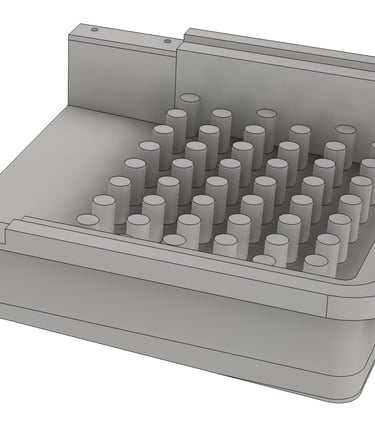
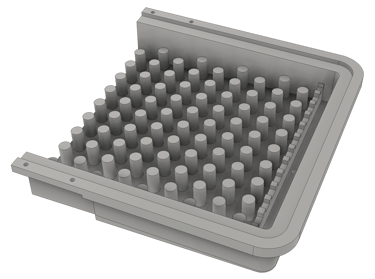
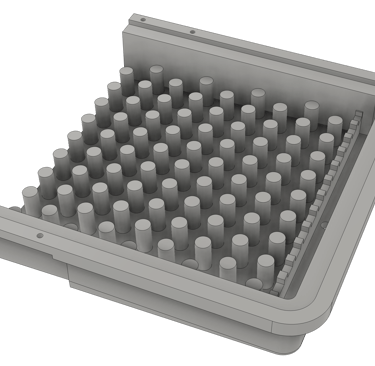
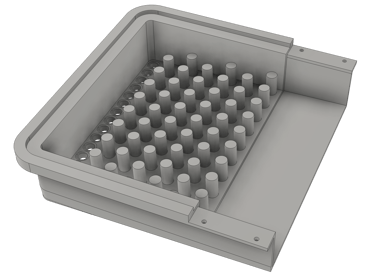
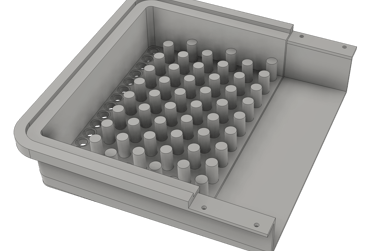
NFT trays are 3D printed and assembled to drop into the Garland propagator base. Depending on the size of the print bed that you might have access to - the NFT tray may need to be printed in sections. I have used a Creality MR04 printer with a 450x450mm print bed to print entire trays at once, but currently use a Bambu Lab H2S printer with 340x320mm print bed. This is a faster, more precise printer, but requires the trays to be printed in two halves (shown below). These are designed to dovetail together and are glued with silicone adhesive (which performs better than epoxy resin or cyanoacrylate glue under continual immersion) - also fixed by four stainless steel M3 bolts.
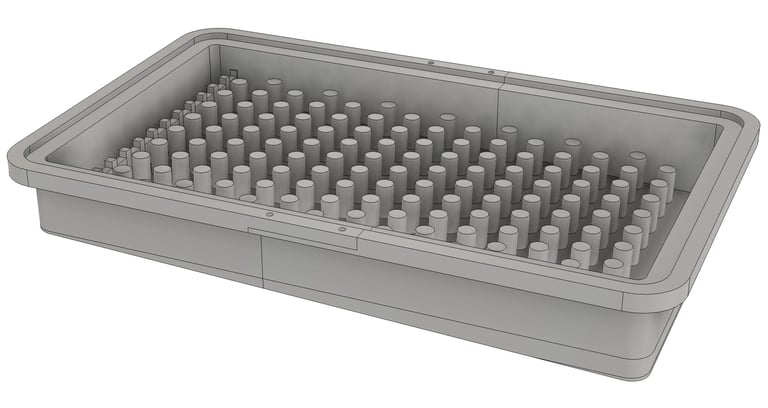
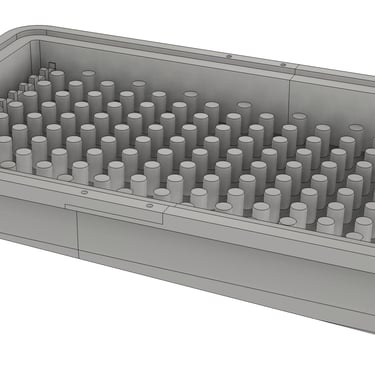
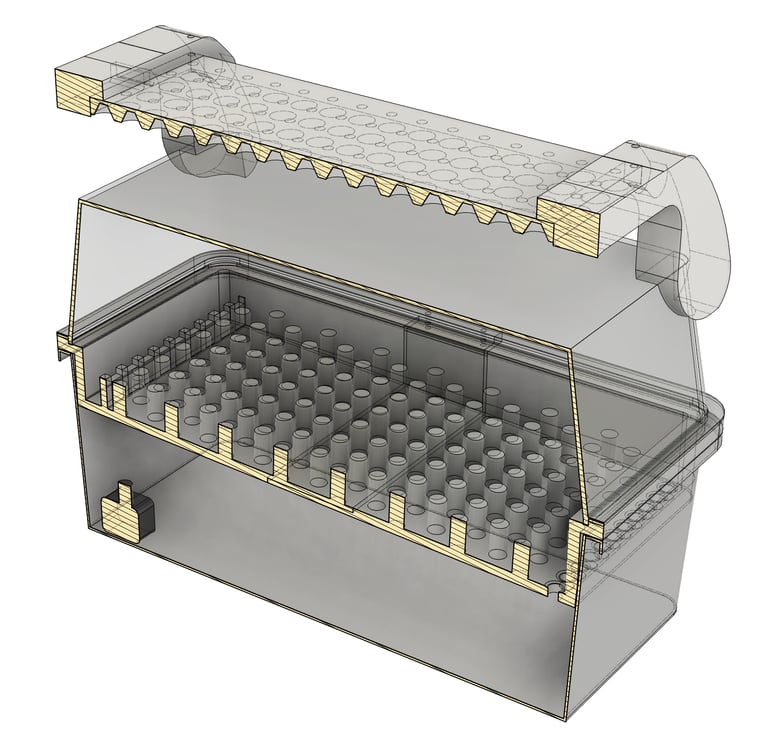
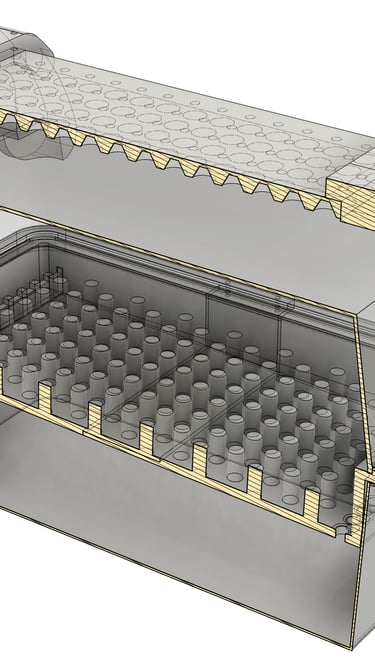
The size and arrangement of 20mm support pegs on the Midi-NFT tray is the same as the smaller Mini-NFT trays. The Midi-NFT tray also has a printed dam, which provides a pool of nutrient medium for wetting the top edge of the Henofa Klavermat 300 capillary matting. Similarly, the NFT tray is covered by 3 layers of support material. First, a layer of pre-cut plastic mesh is layered over the growing surface, between the lower part of the inlet dam and the outlet ports. Second, Klavermat 300 capillary matting (or an alternative) is laid over this so that the upper part of it forms a lip that is dipped into the pool of nutrient solution that forms at the inlet. Thirdly, the whole upper surface of the NFT tray is covered by a sheet of the micro-perforated black plastic film that comes with the Henofa capillary matting.
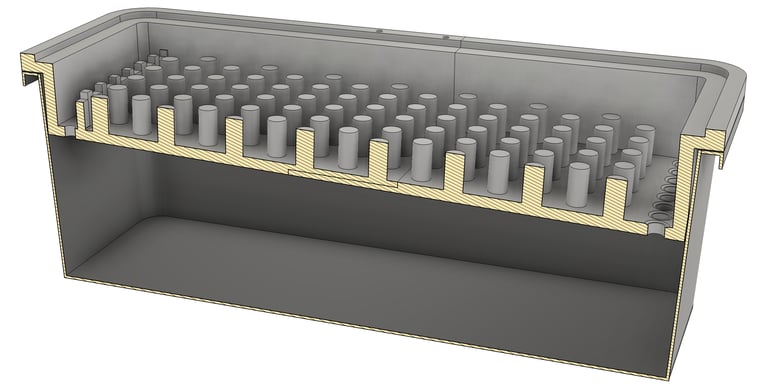
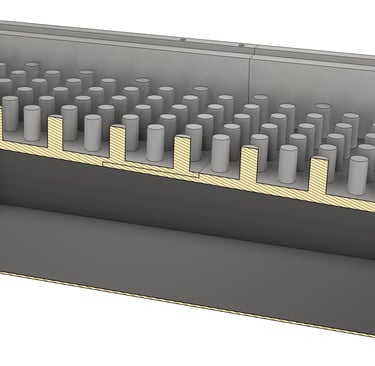
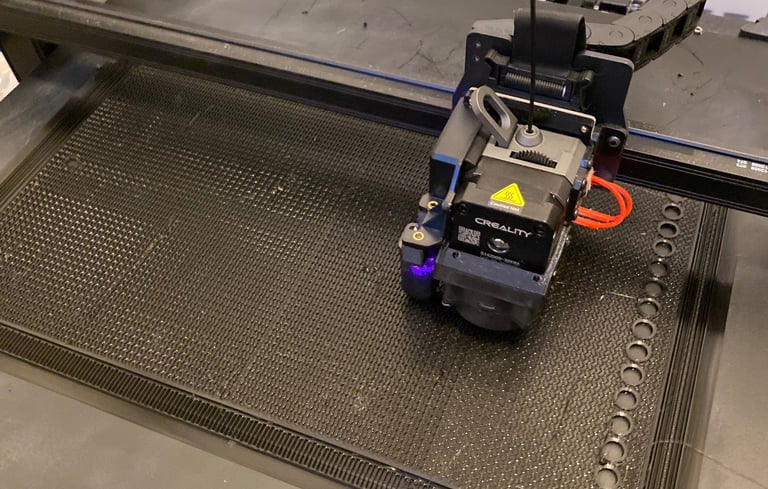
Midi-NFT trays can be printed intact on large print beds
...or printed as halves and then glued/bolted together
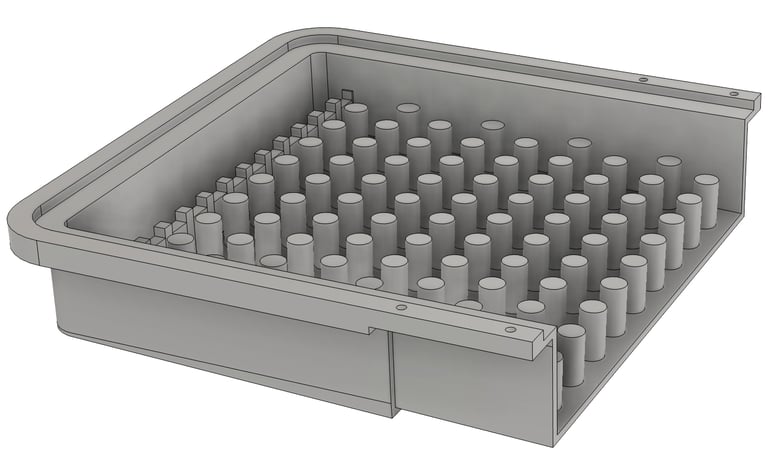
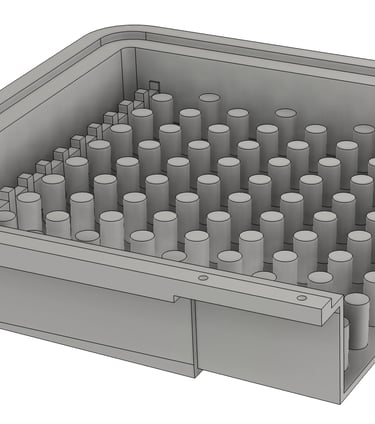
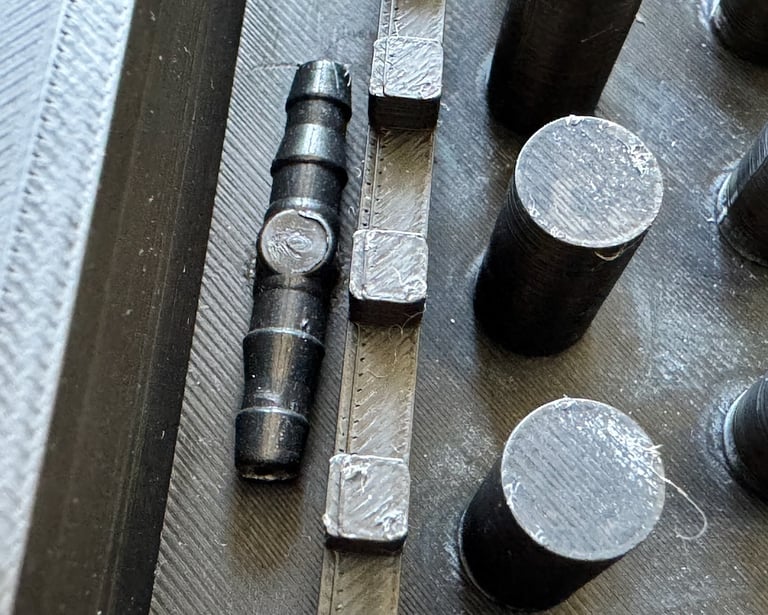
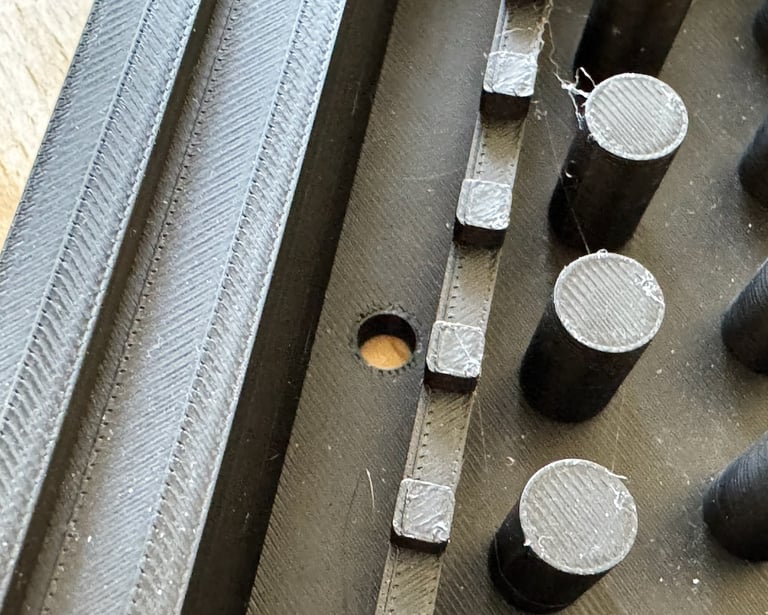
3D printed hole at top of the Midi-NFT tray
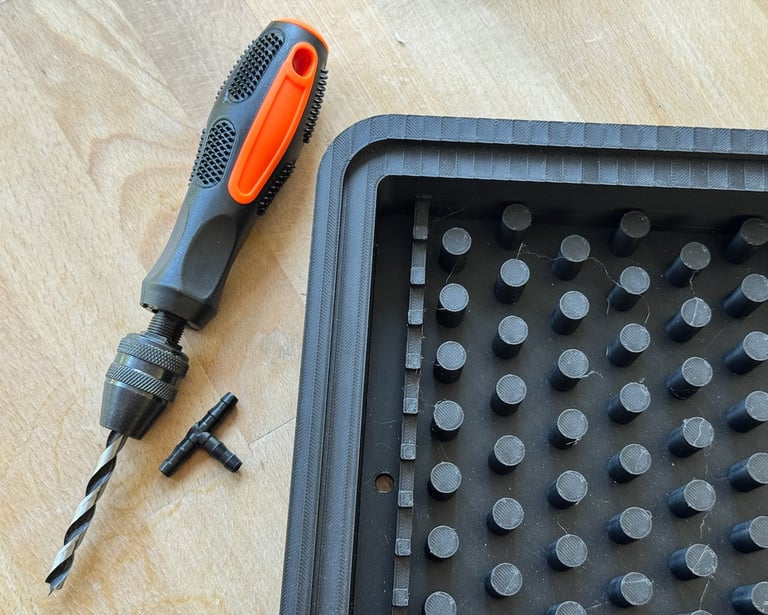
Hand drill and and 6mm bit with T-connector
Inserted T-connector
Top (left) and Bottom (right) halves of Midi-NFT trays are made separately with a dovetail joint laid down during 3D design and printing. The halves can be glued together, and matching openings for M3 bolts are also included to ensure a secure join.
3. Set up
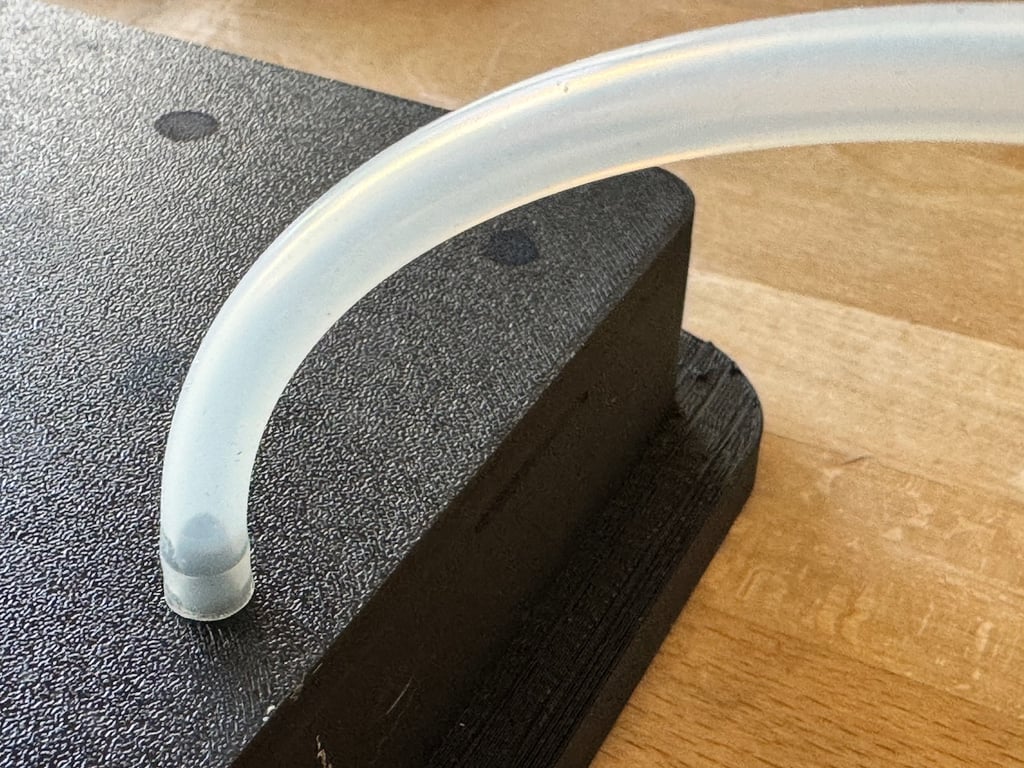
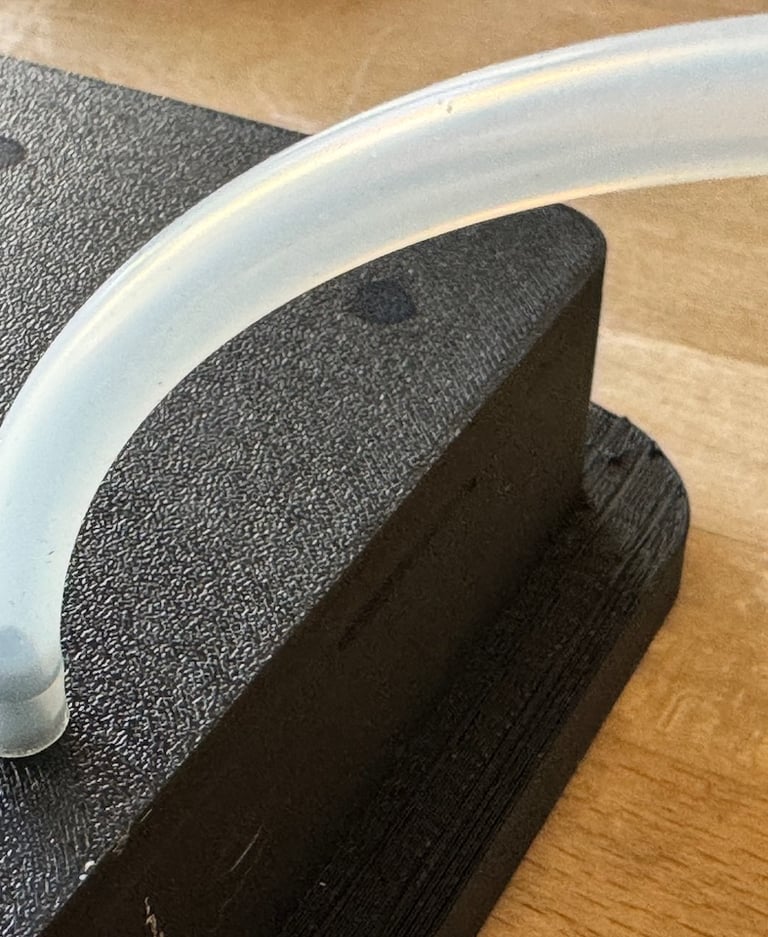
The 3D printed tray should have a 4mm/7mm T-connector (commonly used for 1/4" drip irrigation systems) inserted through the inlet port so that the top of the 'T' junction is on the upper side of the tray with the two outlets pointing to opposite sides of the tray. Depending on the 3D print, it can be useful to use a hand drill with a 6mm bit to ream the printed aperture to the correct size, and a silicone sealant/adhesive can be used to fix the T-adapter in place if necessary. Allow all glued components to cure properly before use.
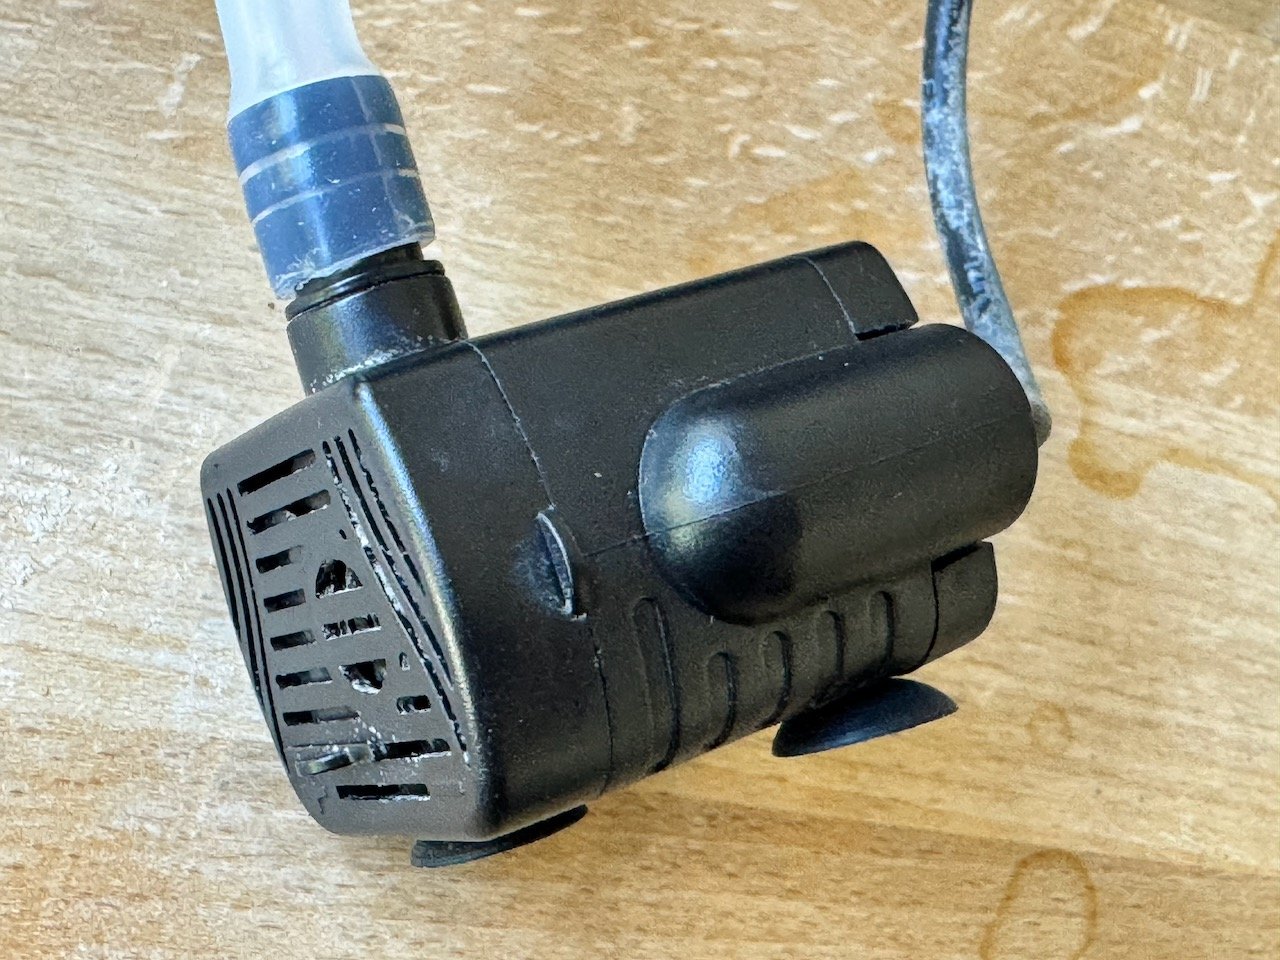
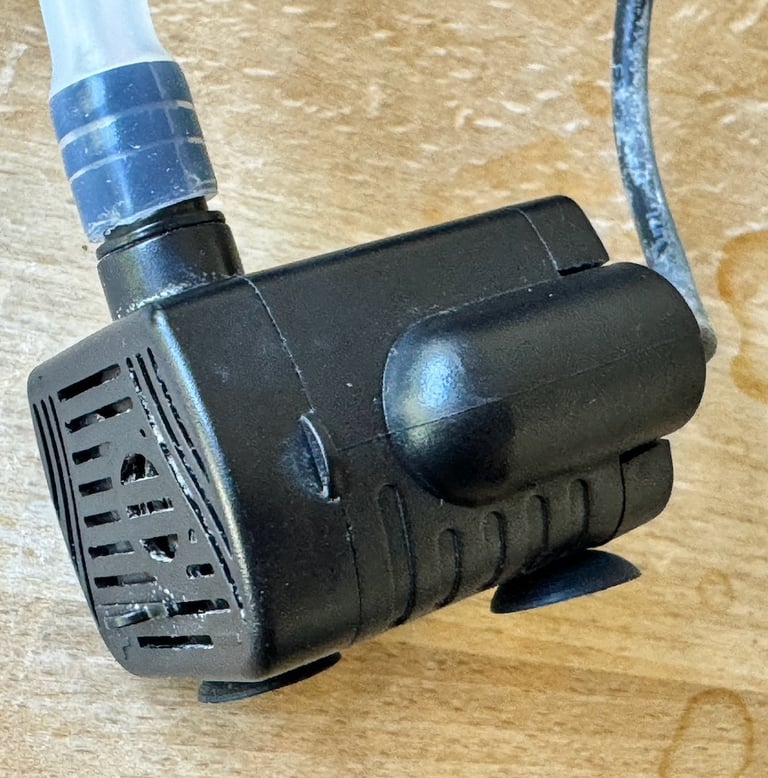
A submersible water pump is used to circulate the nutrient solution. USB-powered aquarium pumps are suitable and can be found for £6-8 online. An example is shown (right), which draws 3W and has a capacity of 200L/h. (This is the same as that used for the MiniNFT system). The rate of flow can be controlled by closing an inbuilt shutter over the intake, and a 2/3 setting is used for 'midi' hydroponic tanks. The 1/4" irrigation T-connector provides a connection for the 5mm ID, 7mm OD silicone tubing that connects the NFT tray to the submersible aquarium pump placed in the base of the nutrient tank. A length of silicone tubing, approximately 16-18cm long) is pushed over the outlet port of the pump.
The pumps have suckers on their base, which are used to fasten the pump inside the base of the Garland deep tray.
The free end of the silicone tube connected to the pump can be connected to the bottom end of the T-connector as the tray is inserted into the top of the Garland tank. At the same time, the waterproof lead for the pump is guided to the outside of the vessel, between the tank and tray. (Note: Some prototypes of the tray were designed to include two channels at the top of the tray that provided essentially light-proof conduits that could be used for the pump cable, supply tube for an air bubbler, or sensor lead in more elaborate setups.)
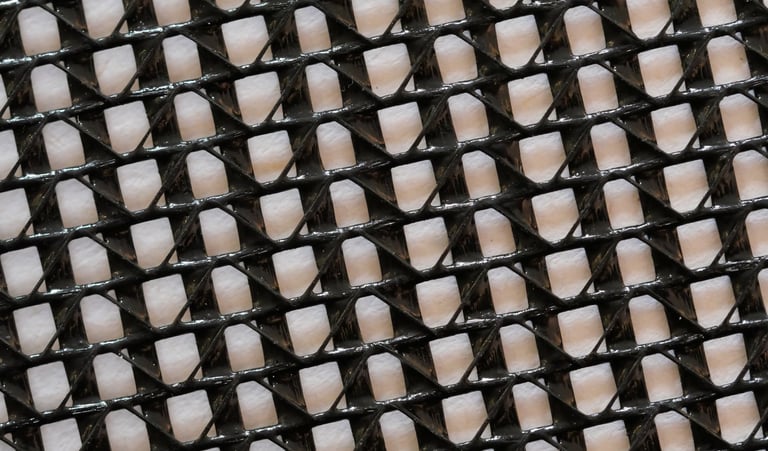
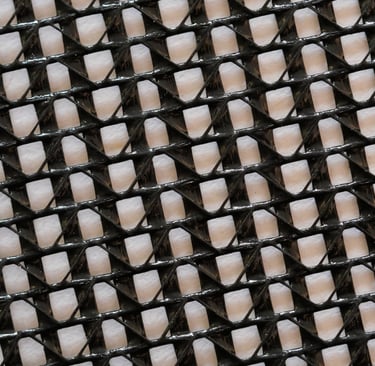
A layer of heavy duty 220gsm black PVC mesh (available from Amazon in 2m width, £8.99/m and pictured right) is cut to size to fit into the 3D printed tray and sit over the support pegs, leaving a gap where the inlet flow and dam are. This provides a layer of support to stop any sagging of the capillary matting (second, right)
A piece of pre-cut Henofa Klavermat 300 capillary matting is layered over the top. This piece should be several centimetres longer, so that a flap of capillary matting can be submerged in media behind the dam at the inlet. This acts as an efficient wick to draw solution into and through the capillary matting.
A piece of Henofa micro-perforated film (supplied as a loosely bonded layer with the Henofa Klavermat 300 + BF material) is cut larger to completely cover the capillary matting and extend to the edges of the tray, to exclude light as efficiently as possible (fourth right). The film can be trimmed in place to ensure a neat fit.
Note: The Klavermat 300 + BF layers have two important benefits - the capillary matting is black, light-shielding, and is highly efficient at drawing up water. Second, the attached micro perforated film has extensive and very fine (sub-millimetre) perforations. The fine and closely spaced perforations in the Henofa film make it a reliable surface for planting Marchantia tissue fragments or gemmae. However note that due to the small size of Marchantia spores, placing a suspension of spores on the film result in the majority of them being swept through the microperforations and end up underneath the film - so not recommended unless some form of encapsulation might be used. In practice, the use of the Henofa film greatly helps reduce problems due to algal growth (especially seen with mats without an impermeable covering) - due to effective permeability and light blocking. Any problems are usually due to over-wetting of nutrient solutions, with media being exposed on or across the growing surface. If difficult to obtain the specialist Henofa matting, it should be possible to find a suitable substitute by combining other capillary matting and a light-shielding membrane of another sort. Weedban50 or perforated black plastic film would be a good place to start.At this point, the tank should be filled with nutrient solution. We use a commercial formula, Shogun Samurai Grow (for hard water), diluted 4mL per litre in tap water. The Garland deep vessels will accept 4L of solution.
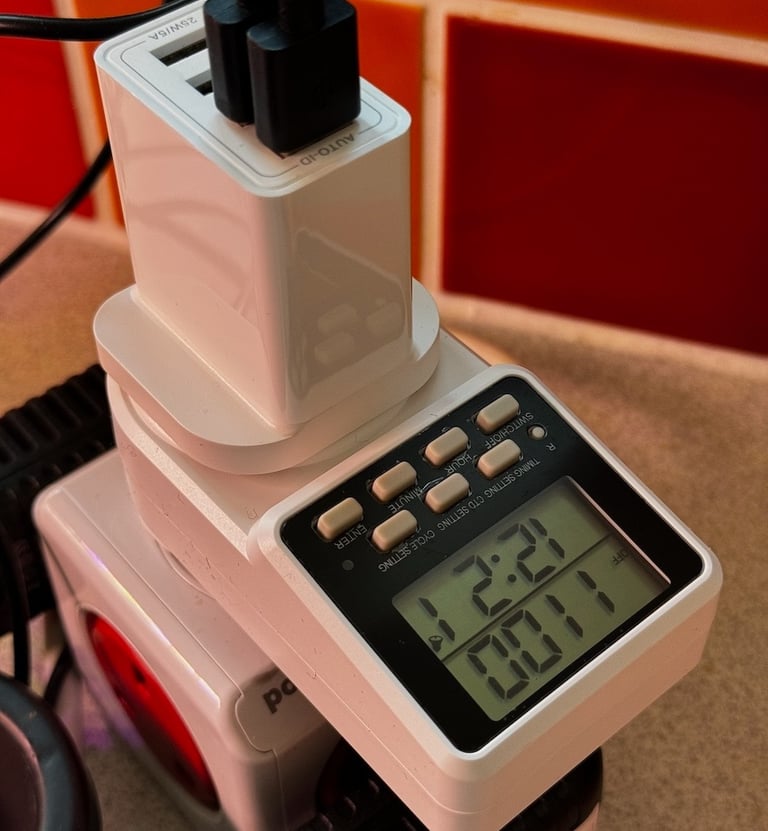
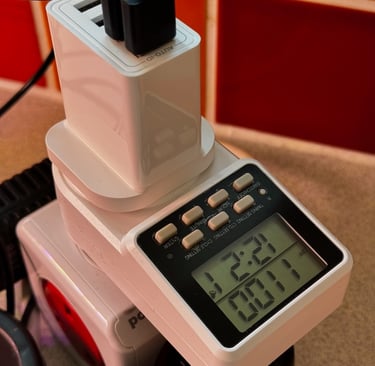
The pump needs to be connected to a USB power supply. Especially with multiple vessels, it is helpful to use a mains-connected multi-USB hub. The pump is run continuously at about 2/3 capacity (set by adjusting the intake vent on the submersible pump). Allow to run for at least 10 minutes until the capillary matting is thoroughly wet, and media is running across the tray and dripping back into the reservoir. Check the system regularly for proper nutrient flow.
The tray can now be 'seeded' with Marchantia gemmae or pieces of thallus.
4. Grow lights
The larger size of the Midi-NFT vessels requires different choice of lighting to support plant growth. Always, the choice of lighting is constrained by the need for a cool, multispectral light source that is cost-effective, easily mounted and provides a suitable area and intensity of illumination for the target vessel.
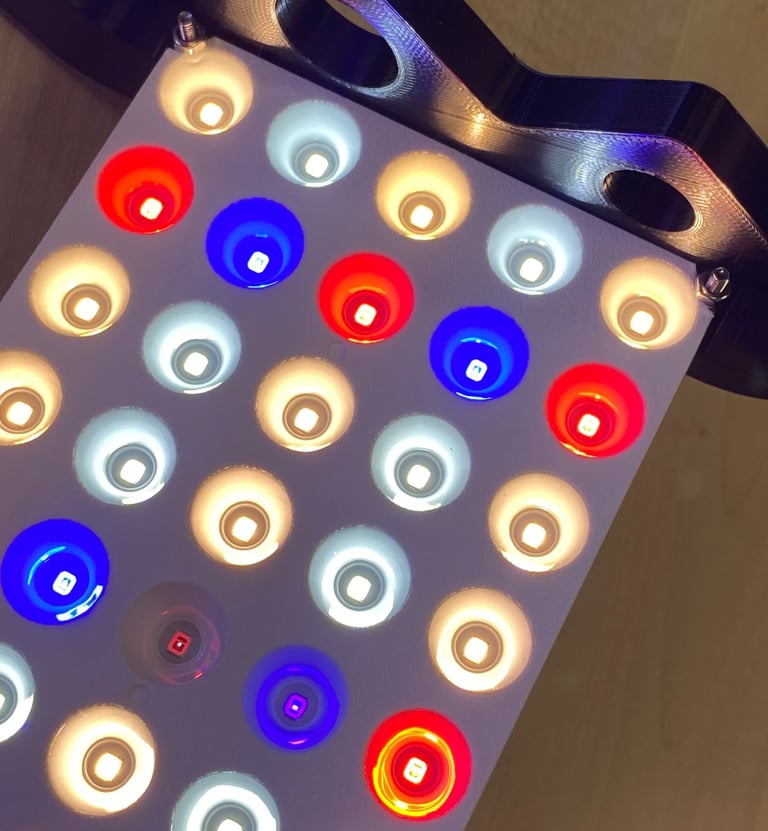
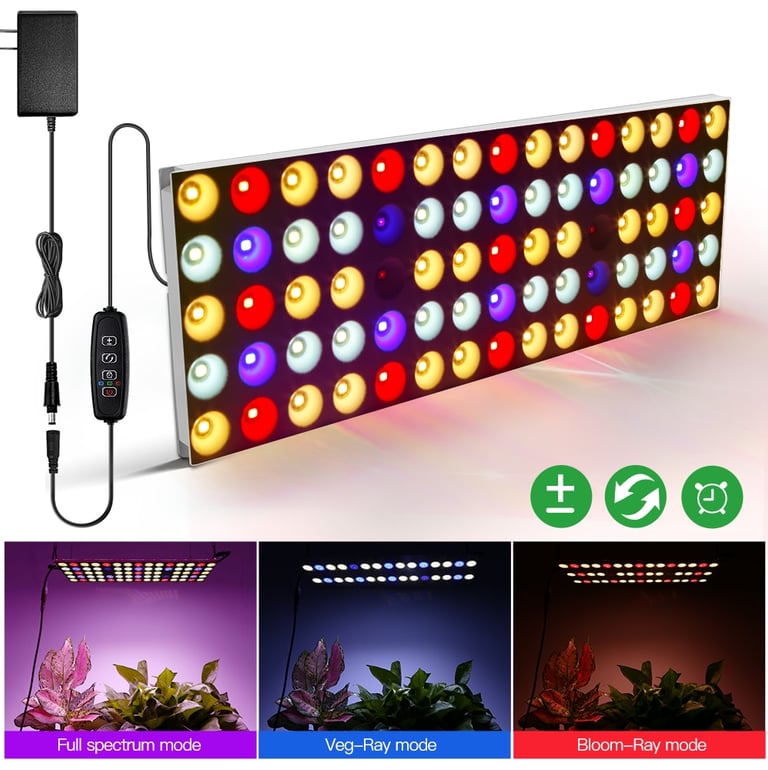
I bought LED light panels, which have a range of LEDs mounted on a flat aluminium panel. The LEDs are electrically connected in two channels: a blue-shifted channel with 2x 395nm UV, 8x 450nm blue and 20x 5000K white LEDs and a red-shifted channel with 30x 3000K white, 13x 660nm red and 2x 730nm far red LEDs. Each LED panel can be switched between (i) all LEDs, (ii) blue-shifted set of LEDs or (iii) red-shifted LEDs, and power adjusted 10%-100% in 10% steps. I measured the spectral output of the channels available for this particular panel, which was sold by the CFGrow store on Aliexpress (using an Apogee spectrometer).
However the CFGrow panel doesn't appear to be available currently. There are similar panels available (e.g. ultrathin panel with 270 surface-mounted warm/cold white and red LEDs) but one should check the running temperature, light output and mounting options (see addendum below). The LED panels should be purchased with the (sometimes optional) controller, which provides a timer functions, control of output levels and choice of spectral channels. All cost around £10-£15 per panel.
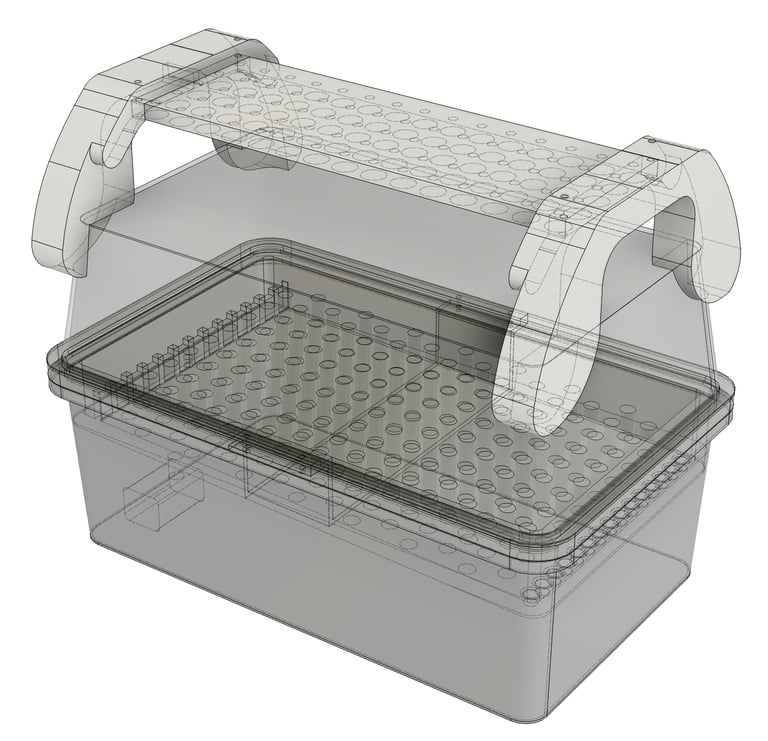
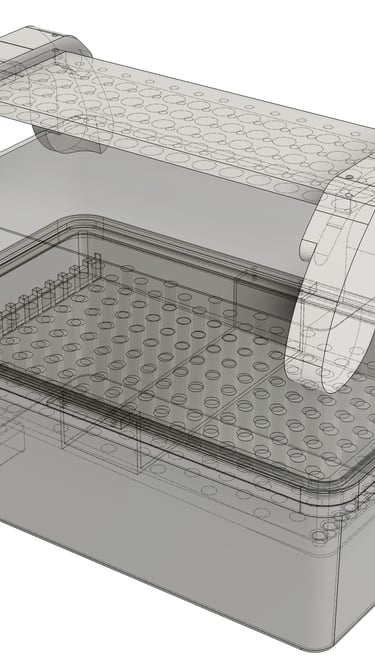
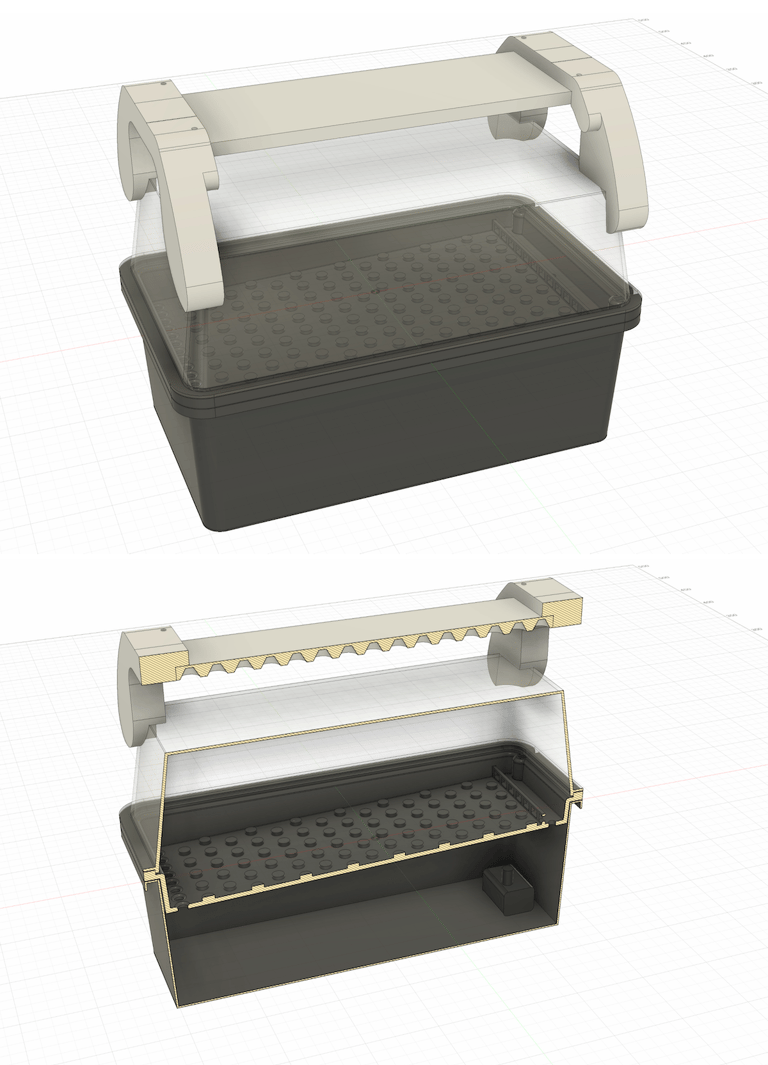
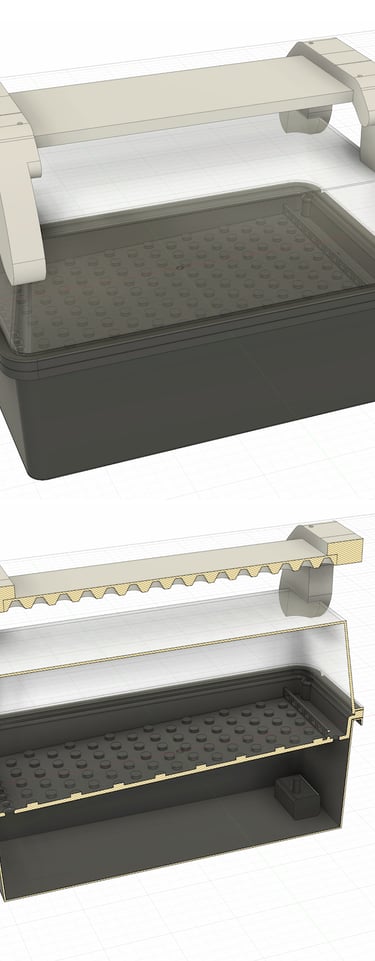
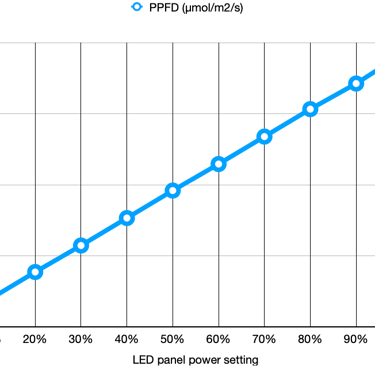
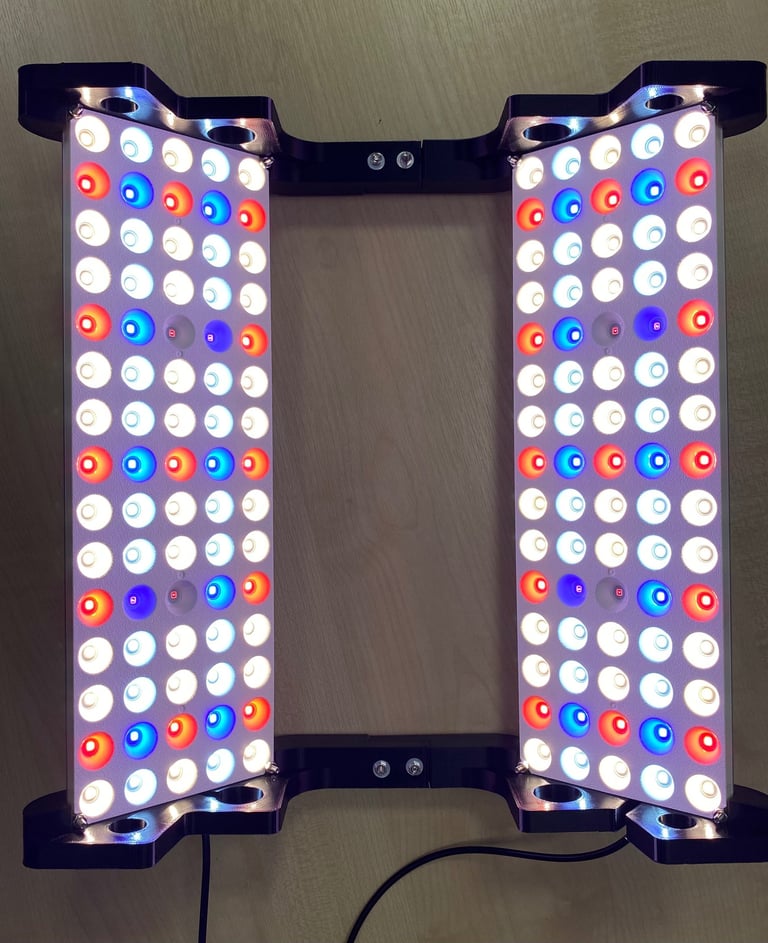
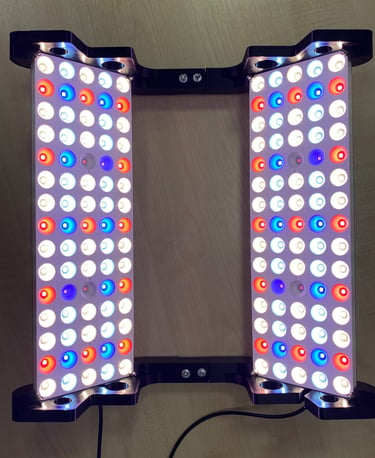
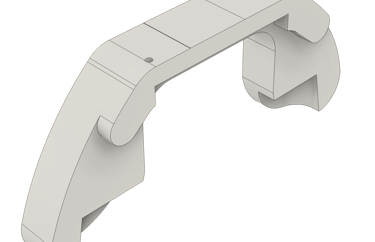
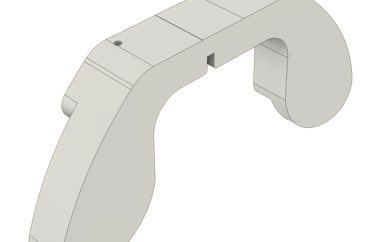
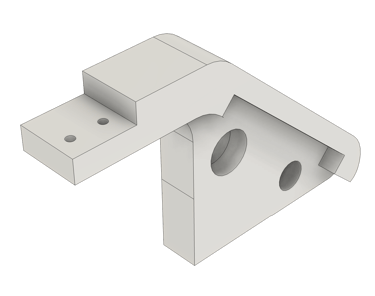
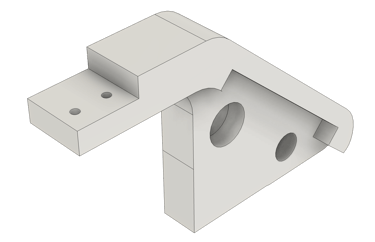
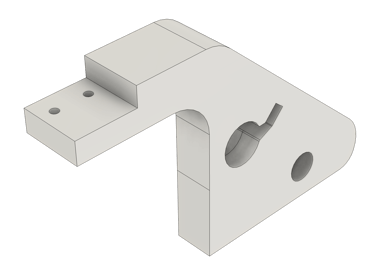
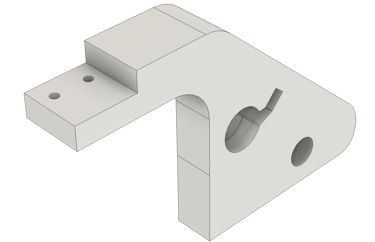
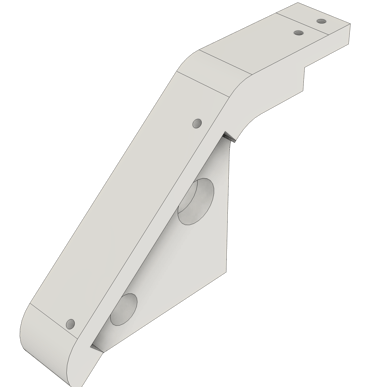
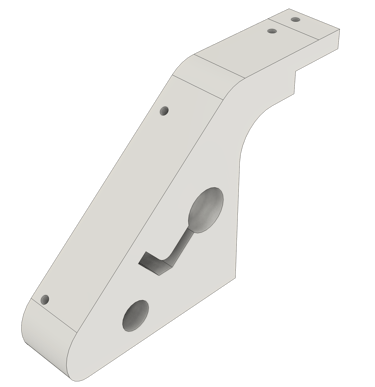
The LED panel(s) need to be mounted over the hydroponics vessel, and I printed suitable plastic supports that slot securely onto the propagator lid. I made two variants, one that holds a single LED panel, and another that holds two panels. Files for 3D printing are linked below, although some customisation will likely be needed for different model LED panels. A single panel is generally sufficient for vigorous growth of Marchantia, providing about 150 µmol/sec/m2 PPFD at the growing surface. However, access to two panels provides some additional flexibility. For example, I ordered custom panels with additional far red (740nm) LEDs. With a combination of standard and custom panels, I could balance illumination to promote shift of Marchantia plants to the sexual phase for spore production. In addition, an additional panel allows more flexibility with light levels and spectral properties by adjusting the twin channels on each panel. With two standard LED panels, light levels of up to 300µmol/sec/m2 PPFD could be achieved. (See the plot of PPFD output for a Midi-NFT systems with two standard CFGrow panels installed). This might be useful for some applications (although high for normal, continuous illumination of Marchantia). The total output can be regulated by using the controller to adjusting the levels in 10% steps, which are relatively linear.
We normally grow Marchantia with full spectrum light and a 24h photoperiod at 150-200µmol/sec/m2 PPFD. This seems to give maximal rates of growth for well-fed plants in hydroponic culture, although we haven't explored this deeply. Simple electronic timers can be used to adjust the photoperiod if the choices on the inbuilt timer are too limited.
These types of LED panels are generally powered by a 12V or 24V power converters, as they draw too much current to run off a USB plug. Double check these plug-in power adapters (running temperature, physical robustness), we've had some quality issues with some of these, but replacement power supplies are easy to source. Also, be aware that there are some direct mains-powered LED panels available (e.g. Parkson LED grow lights) which are very bright, run very warm, and are perhaps best suited for a growth room, rather than confined hydroponic unit.

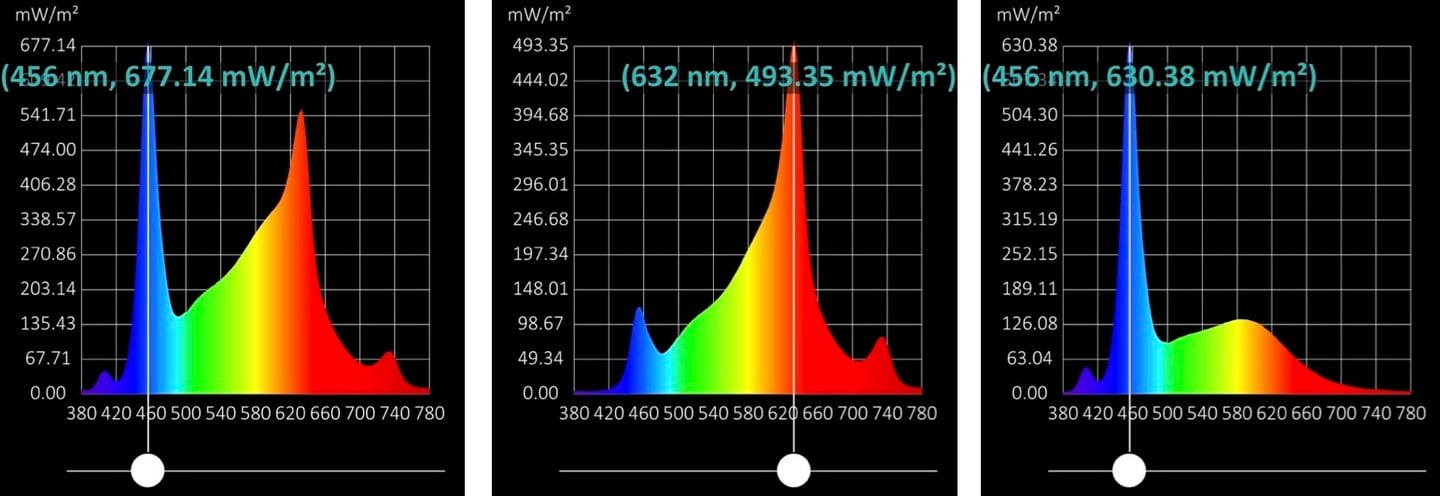
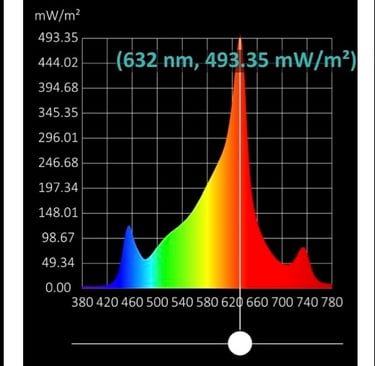
Combined spectral output of all LEDs
Spectral output of red-shifted set of LEDs
Spectral output of blue-shifted set of LEDs
PPFD output of Midi-NFT system with twin LED panels
Single panel Midi-NFT hydroponics unit
Twin panel Midi-NFT hydroponics unit
Addendum: alternative LED light panels
Given that the CF Grow LED panels described above seem to be difficult to source currently, I investigated a couple of other low-cost LED grow-light panels that are available. These were obtained from suppliers on Aliexpress, and are 5V and 12V panels with different LED sources - and I wanted to check the spectral outputs and intensities available from these panels.
The first panel (https://www.aliexpress.com/item/1005009691614194.html, £9 ea., below left) has a USB-C socket, and is powered from a standard 5V USB source. It appears to draw 0.8A when all of the LEDs are on. The second panel (https://www.aliexpress.com/item/1005008870322687.html, £12, below right) has a 12V switching power supply and is similar size and appearance to the 5V panel, with lightweight aluminium backing panel, but has a different array of surface-mounted LEDs.


Both panels come with a controller similar to the CFGrow panels, which allow changes in intensity, timing of illumination and spectral balance (by illuminating one or two banks of different LEDs. In order to get an estimate of the light composition and output for the panels. each panel was placed over the propagator lid of one of an empty Midi-NFT grow-pod. An Apogee MS-100 spectrometer was placed on the bed of the vessel - in the position where the plants would normally sit - and readings taken.
5V USB LED panel
The 5V LED panel has a mixture of blue (28x ), red (39x) and warm white (68x) LEDs. These can be toggled on and off in banks of red+blue, or warm white, or all LEDs together (see right). The spectra of the output of the different switched banks of LEDs are shown below - left to right: all LEDs, blue+red, warm white LEDs,
The overall PPFD (380nm-780nm) measurements of the light intensities at the growing surface were: All LEDs 54 mmol/sec/m2; red+blue LEDs, 48 mmol/sec/m2; and warm white LEDs, 51 mmol/sec/m2.
These levels of light intensity are considerably lower than the CFGrow panels, and one would expect to use a double panel support for each vessel, and still have a lower light intensity than the previous panels.


12V LED panel
The 12V panel has a mixture of cold 6000K white LEDs (59), warm 3000K white LEDs (64) and red 660nm LEDs (12). Toggling between the two banks doesn't have a drastic effect on the spectral composition, mainly affecting some red light supplement, as mixed white LEDs are present in both banks. As one might expect, it does affect the overall light output.
The overall PPFD (380nm-780nm) measurements of the light intensities at the growing surface were: All LEDs 80 mmol/sec/m2; mixed white LEDs, 35 mmol/sec/m2; mixed white + red LEDs, 52 mmol/sec/m2. While these are still lower than the CFgrow panel, a double panel support would offer a reasonable light output for Marchantia growth. In addition, neither the 5V or 12V panels emit much heat, and although some redesign of the existing 3D-printed LED supports would be required, these panels are of roughly similar dimensions to the CFGrow panels.


5V panel - all LEDs
5V panel - blue+red LEDs
5V panel - warm white LEDs
12V panel - all LEDs
12V panel - mixed white LEDs
5V panel - mixed white + red LEDs
5. Plant culture
Gemmae or thallus pieces can be placed directly on the micro perforated surface of a hydrated Midi-NFT system, the lid added with vent(s) open, LEDs turned on, and the plants will grow quickly. Growth should be obvious by eye within a day or two. Thalli growth is faster than gemmae as they are already better established at the time of planting. Gemmae can be expected to catch up within a week or so. The mat of plant tissue shown below (top-left) results from gemmae germination and subsequent growth after 3 weeks. Growth of thalli can produce 300-400g vegetative tissue in these vessels after ~3 weeks of growth.
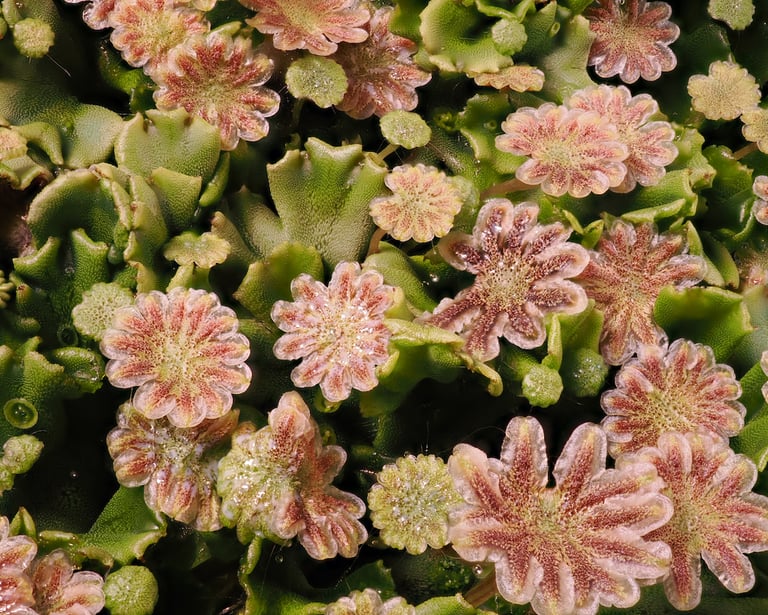
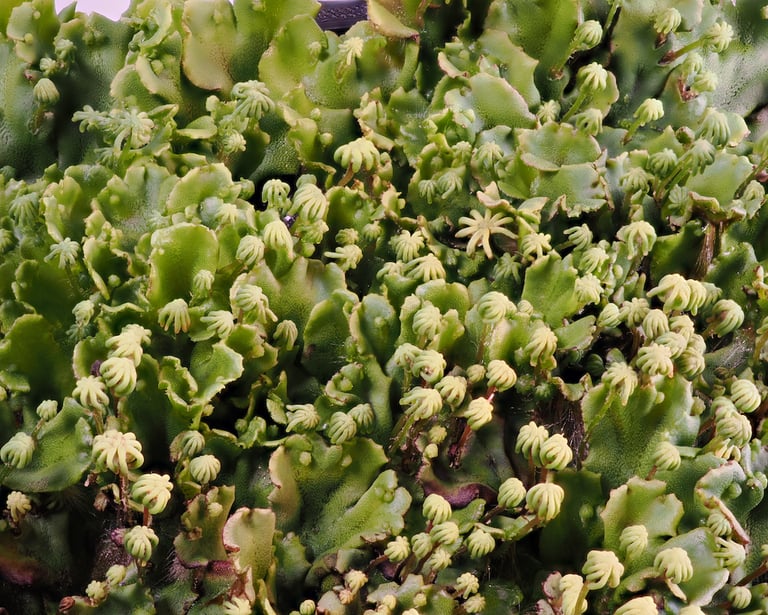
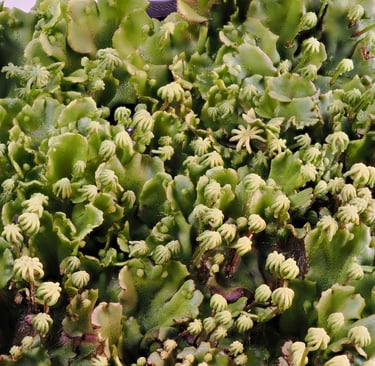
In addition to vegetative growth, we have used the vessels for spore production. Starting from Cam-1 Marchantia thalli and with permissive light conditions, antheridiophores can appear after 3-4 weeks of culture. Cam-2 archegoniophores appear about 2 weeks later. For spore production, male and female plants should be grown separately. The prolific production of antheridial secretions can result in infection and production of fungal spores which are problematic for clean harvesting of Marchantia spores. Best to keep the sexes separate. When both male and female gametes are mature, antheridiophores can be collected en masse, nipped from male plants with a pair of forceps and placed in a container with ~200mL water (tap water seems to be OK). The water becomes cloudy with expelled sperm, and this can be drained off into a pump-spray bottle and used to deliver to receptive female plants. The watery extract should be used to thoroughly wet the targeted archeghoniophores. The process can be repeated once or twice after week. The process is relatively quick, and can produce efficient fertilisation. If all goes well, prolific numbers of sporangia will appear at 4-6 weeks after fertilisation. These can be harvested, dried, stored cold or frozen, and provide a very useful store for future transformation experiments.
Hydroponic-grown plants can grow faster and more healthily than plants trapped in agar culture or in containers, and hydroponic propagation is recommended for production of vegetative biomass or harvesting of spores. The vessels can support vigorous plant growth for at least a month until the plant might benefit from a change of hydroponic media. Vessels and trays can look remarkably clean, even after 4-6 weeks of culture. As a guide, we might change out the media after fertilisation, with the second change lasting through to the end of the experiment. Of course differences in cultivation conditions or media might give different results, and with a new setup one should monitor for changes in media pH or evidence of plant suffering, chlorosis, browning, etc.
Hydroponic culture is notorious for working well at first, but suffering in subsequent rounds of culture - in particular due to accumulation of microbial pests or competitors like algae. It is highly recommended to pay attention to cleaning of vessels, pumps and trays between use. For example, the submersible pumps can be run submerged in a dilute bleach solution (or other disinfectant) to kill off contaminants. Similarly, dishwasher-proof vessels can washed harshly, while 3D printed trays - which generally won't survive a dishwasher without warping, should be sprayed and scrubbed with a disinfectant, and well dried.
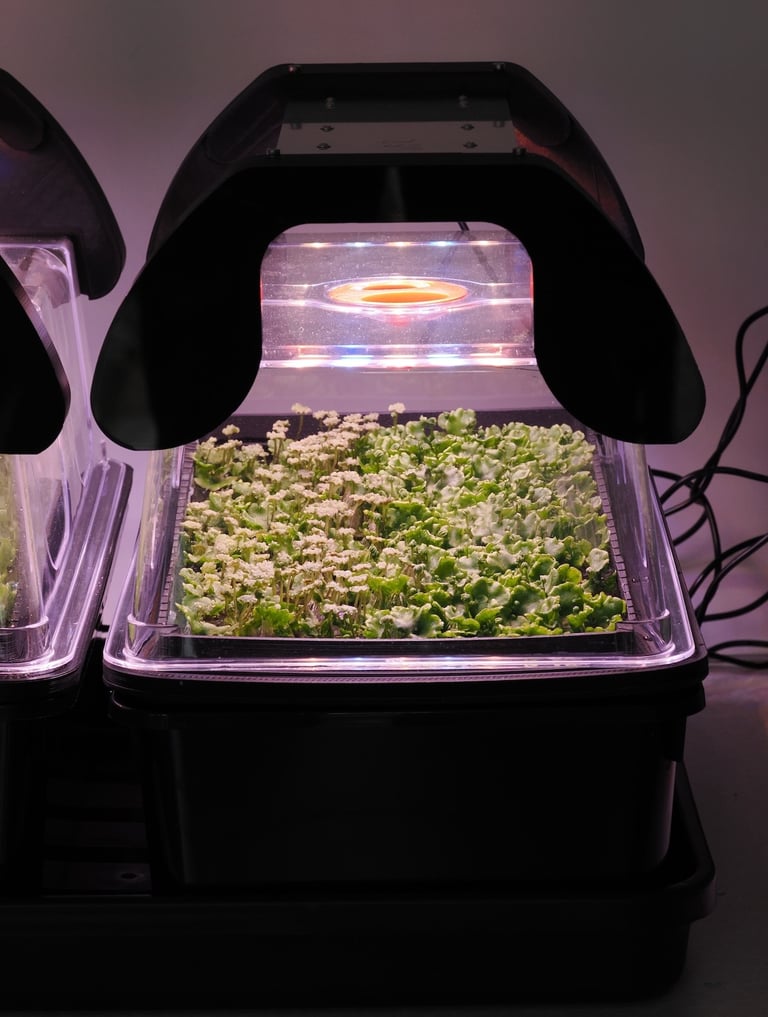
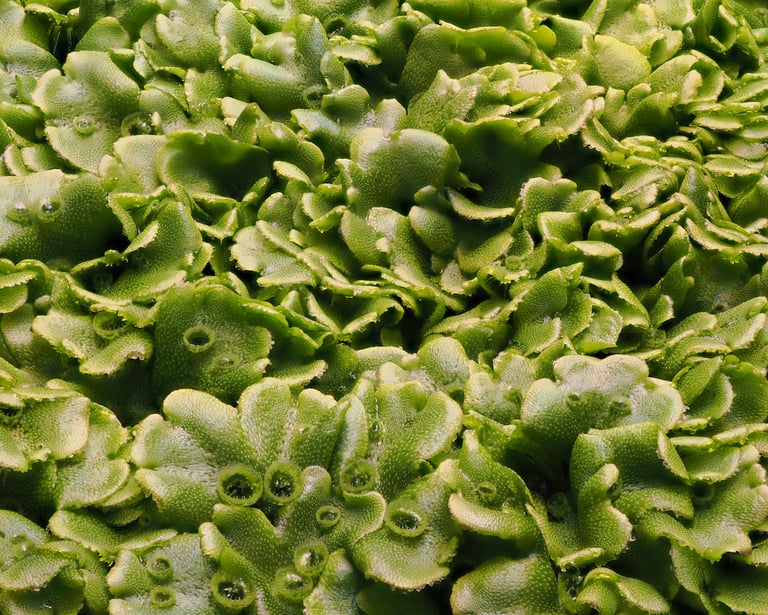
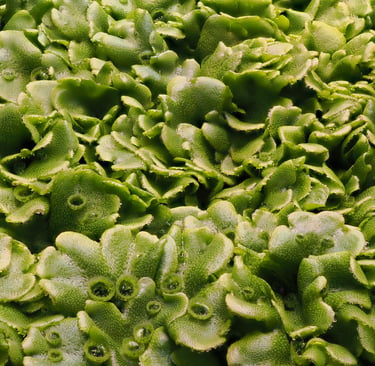
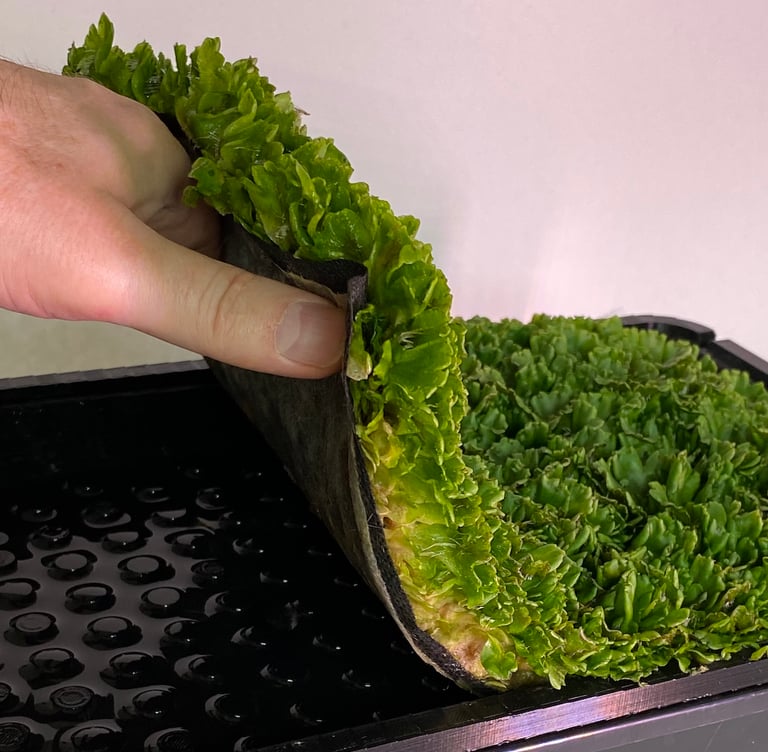
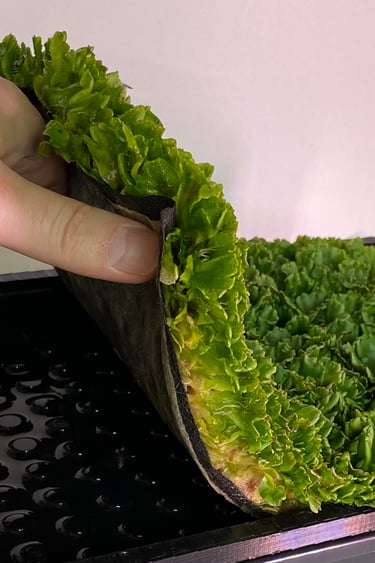
Vegetative growth
Antheridiophore development
Archegoniophore development
Download Midi-NFT 3D files
Midi-NFT tray top.step (3D CAD exchange file)
Midi-NFT tray top.stl (3D CAD exchange file)
Midi-NFT tray bot.step (3D CAD exchange file)
Midi-NFT tray bot.stl (3D CAD exchange file)
Midi-NFT single LED support A.step (3D CAD exchange file)
Midi-NFT single LED support A.stl (3D CAD exchange file)
Midi-NFT single LED support B.step (3D CAD exchange file)
Midi-NFT single LED support B.stl (3D CAD exchange file)
Midi-NFT dual LED support A.step (3D CAD exchange file)
Midi-NFT dual LED support A.stl (3D CAD exchange file)
Midi-NFT dual LED support B.step (3D CAD exchange file)
Midi-NFT dual LED support B.stl (3D CAD exchange file)
Midi-NFT dual LED support C.step (3D CAD exchange file)
Midi-NFT dual LED support C.stl (3D CAD exchange file)
Midi-NFT dual LED support D.step (3D CAD exchange file)
Midi-NFT dual LED support D.stl (3D CAD exchange file)

Additional parts
Garland Products - G243B Deep Root Garden/Seed Tray Black Without Holes: https://www.garlandproducts.com/brochure/deep-root-garden-seed-tray-black-without-holes.html
Garland Products - G137 Large High Dome Propagator Lid: https://www.garlandproducts.com/brochure/large-high-dome-propagator-lid-only.html
CFGrow multispectral LED panel
USB-powered submersible water pump: https://www.amazon.co.uk/gp/product/B07TW39QXP
Plastic mesh for support: https://www.amazon.co.uk/dp/B00VG5AU30
Henofa Klavermat 300BF: http://capillarymatting.com/product/klavermat-300-bf-capillary-matting
Silicone tubing 7mm x 5 mm ID (18cm length): https://www.amazon.co.uk/sourcing-map-Silicone-Flexible-Translucent/dp/B07DLZY7RT
T-shape micro-irrigation fitting: https://www.amazon.co.uk/dp/B0912TRNG2
Multi USB-A mains adapter: https://www.amazon.co.uk/dp/B08L6Q43HF
Shogun Samurai Grow hydroponics concentrate: https://www.amazon.co.uk/SHOGUN-Samurai-Hydro-Grow-Water/dp/B07DDNNDSN
Note: the weblinks are provided as a examples, with connected details - not intended to carry any implied recommendation of the supplier.


Marchantia as a platform for engineering plants
About Biomaker OpenPlant Cambridge Lab
Jim Haseloff
jimhaseloff@gmail.com

