How to build a Super-NFT grow-pod
This page provides instructions for building a super-size NFT hydroponics unit with a 28x42cm surface for growing Marchantia. This large modular grow-pod can generate up to a kilogram of fresh plant material.
Like the other grow-pods, the design is based on stacked components, with (i) a large reservoir and pump for nutrient media at the base, (ii) custom 3D printed tray that supports the growing surface and (iii) a propagator lid and multispectral LED light source with custom 3D printed support.
The system is based on use of components from the Nutriculture/NutSystems X-stream range of spray aeroponic propagators. I'd been introduced to these components when I was exploring the use of aeroponics and fogponic techniques for Marchantia propagation. Although the experiments with alternative hydroponic techniques weren't very encouraging, I was impressed by the quality and size of X-Stream bases and propagator lids that were available. The X-stream propagators come in various sizes, with spaces for 12, 20, 40, 80 or 120 slots for holding seedlings during propagation. The 80 and 120 site propagators hold 25L and 40L, respectively, so filled vessels would be more difficult to move or empty. The 40 site propagators hold 14L, so are easier to handle full.
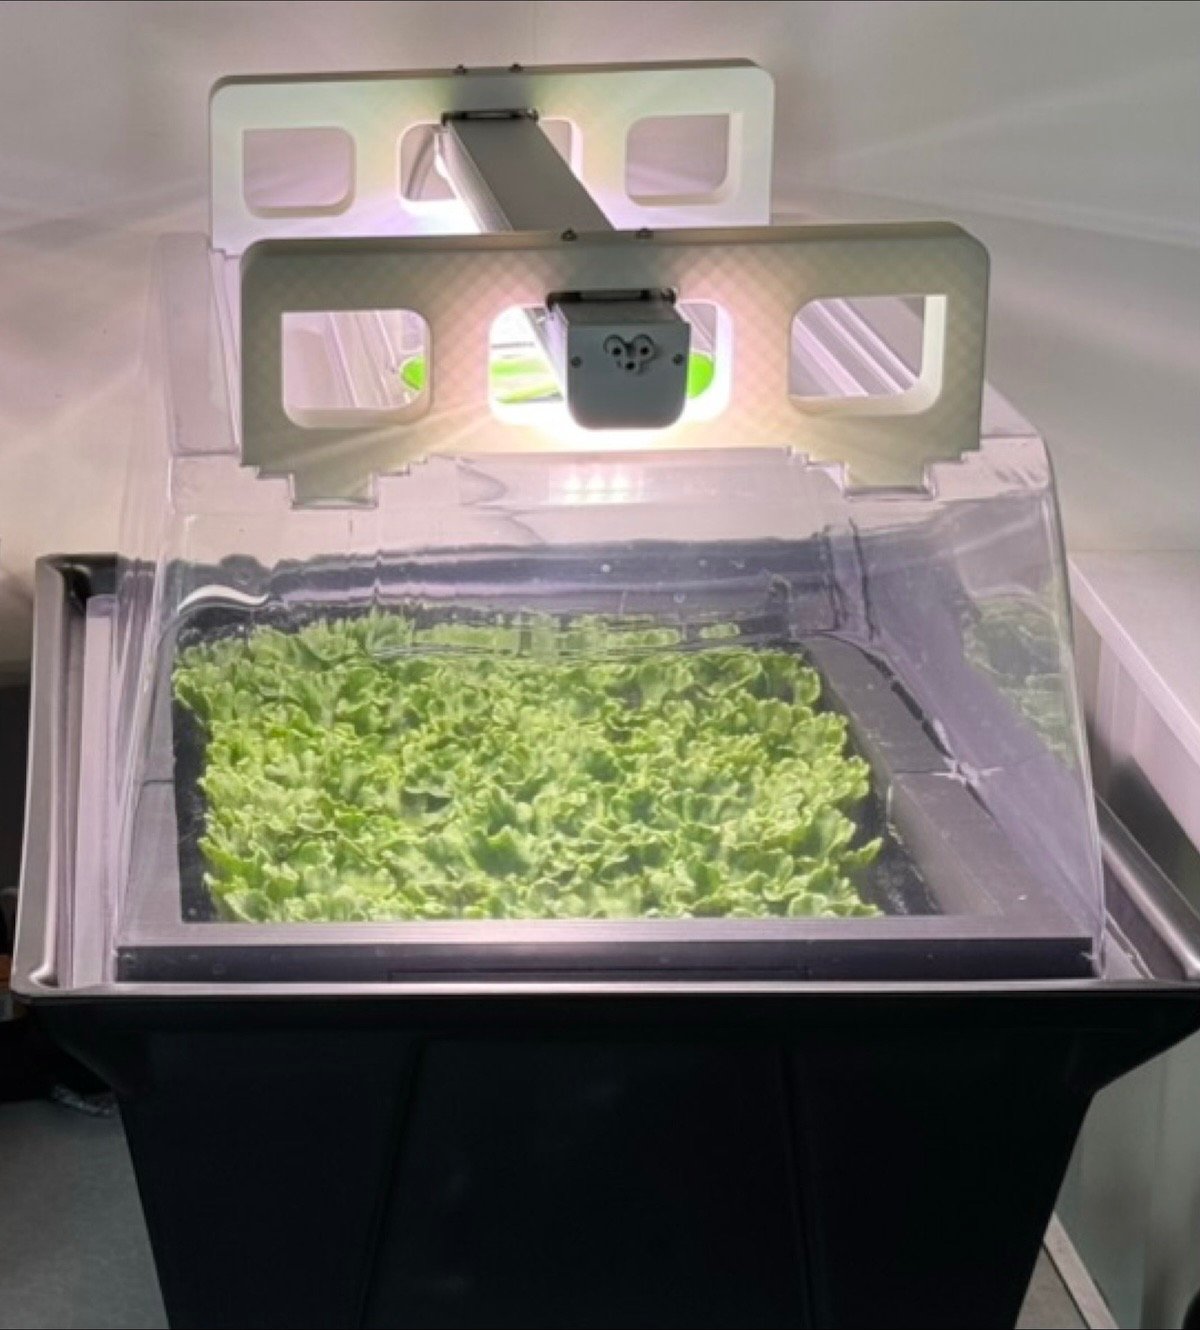
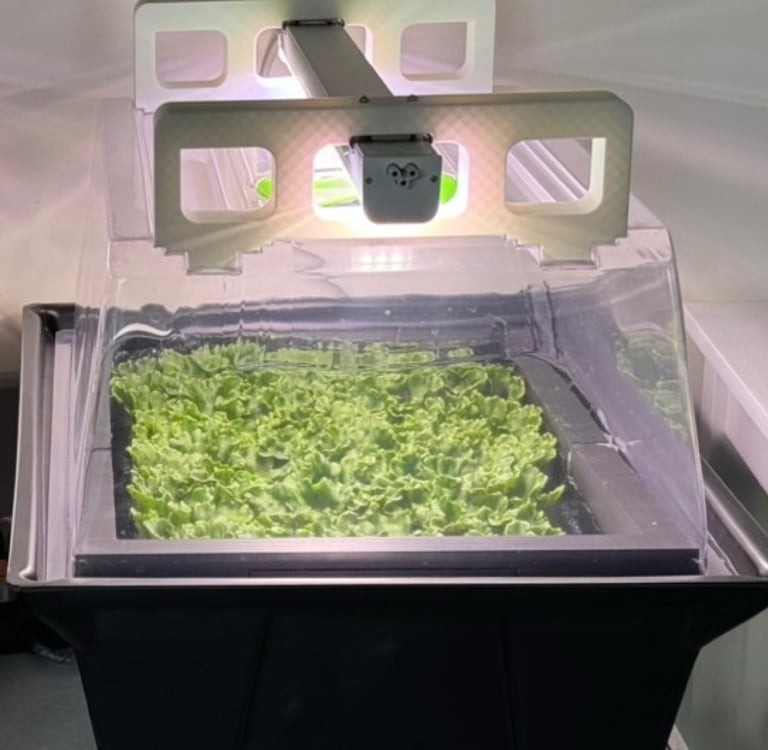
1.Vessel
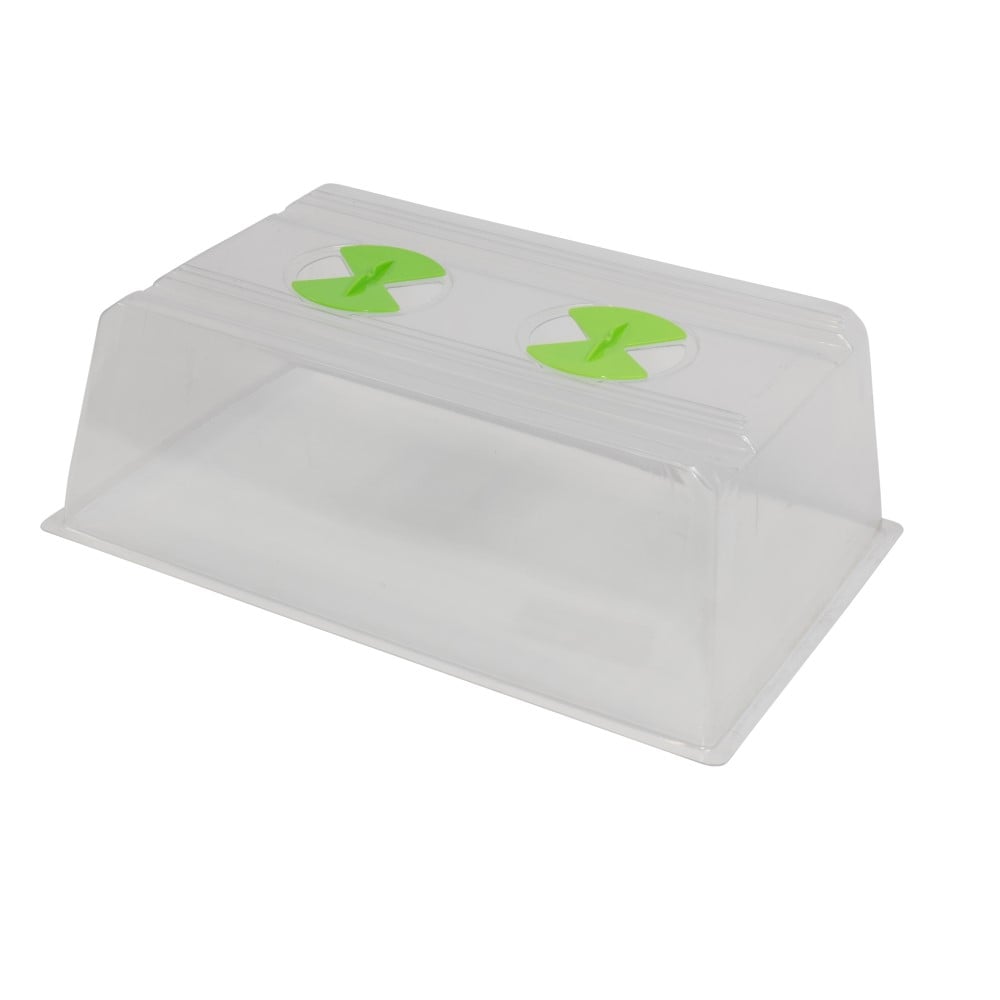
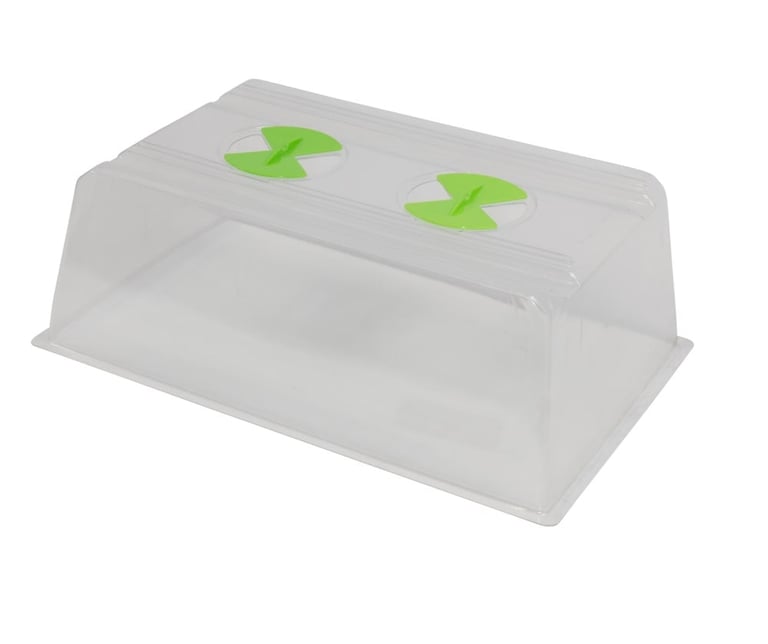
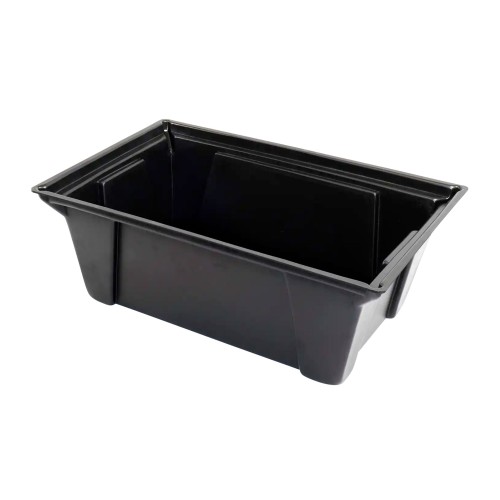
X-Stream propagator tanks and lids are available as spares, and were purchased from The Greenhouse Effect online store (https://ghedirect.co.uk) The 40 site X-stream tanks and the corresponding propagator lids all cost £21 each. The dimensions of the 40 site propagator are: L 60cm x W 41cm x H 41cm. The base contains two sets of shelves, one for supporting a tray and the other for supporting the transparent lid. In normal use, the X-Stream propagators contain trays with circular cut-outs and support collar for young cuttings. In our case, we are 3D printing our own trays that slot neatly in place of the X-Stream version - instead with a flat growing surface and NFT hydroponic system for feeding Marchantia plants.
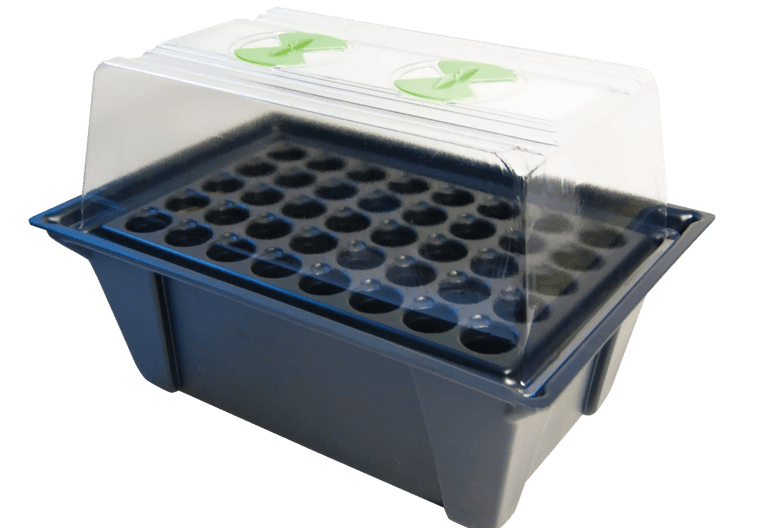
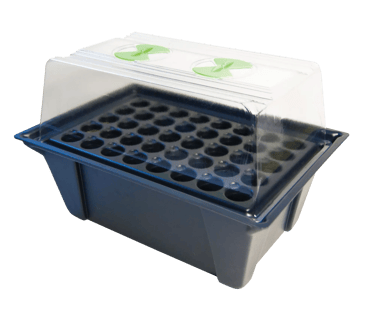
X-Stream 40 site aeroponics spray system
X-Stream 40 site tank
X-Stream 40 site propagator lid
2. Super-NFT tray
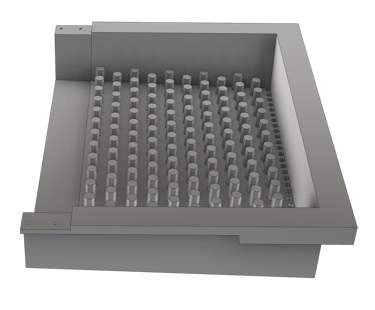
The relatively large NFT tray inserts were printed in halves on a Bambu Lab H2S printer, which has a 320x340mm print bed. The prints were seated flat on the print bed, and printed with tree-type support, 3-5 wall layers and 25% infill to make more robust prints. Printers with smaller beds might be accommodated by further dividing the print into smaller sections and adding appropriate overlapping joints to allow for straightforward reassembly. After printing of the pieces, support was stripped off and surfaces cleaned, the interlocking halves were glued together with a layer of silicone adhesive, and held in place by four M3 bolts.
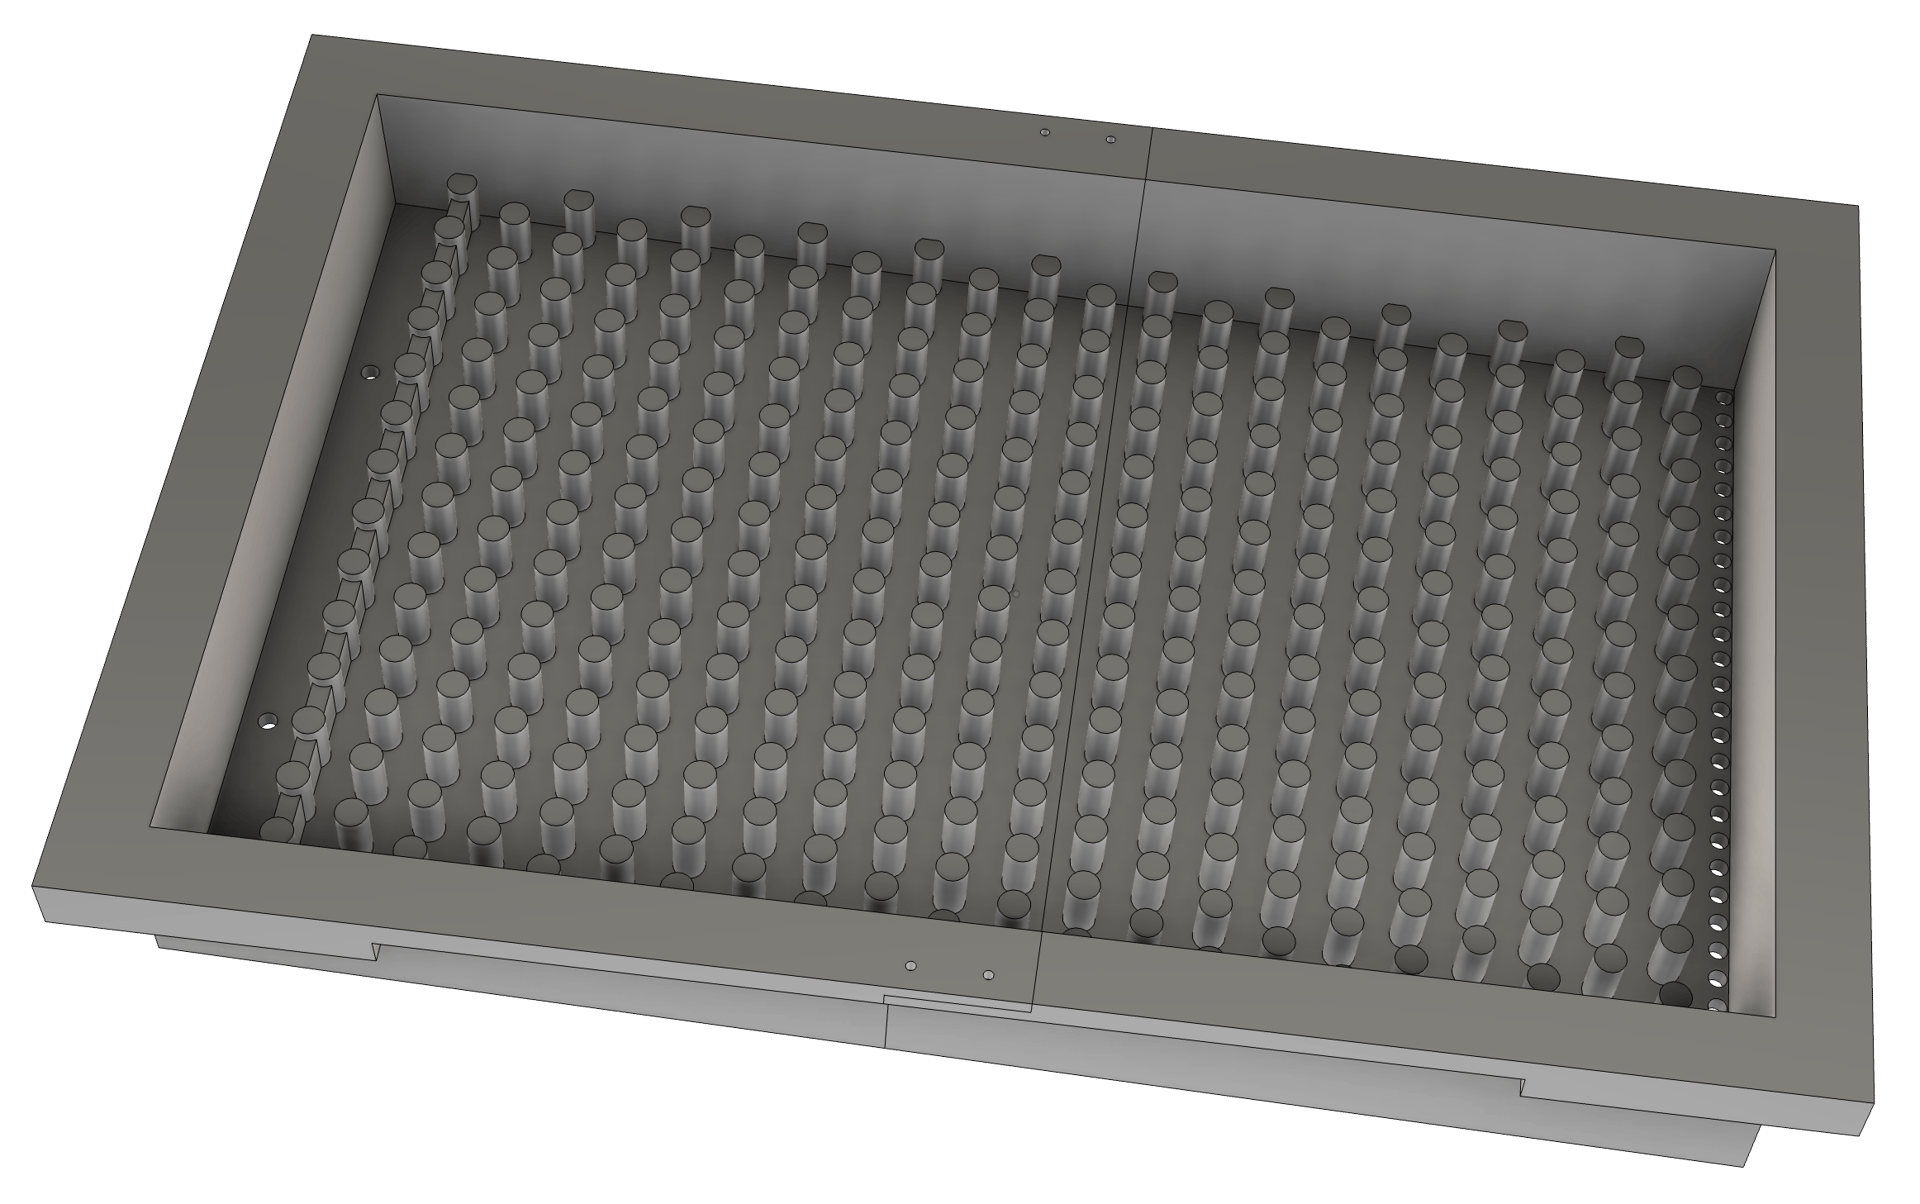
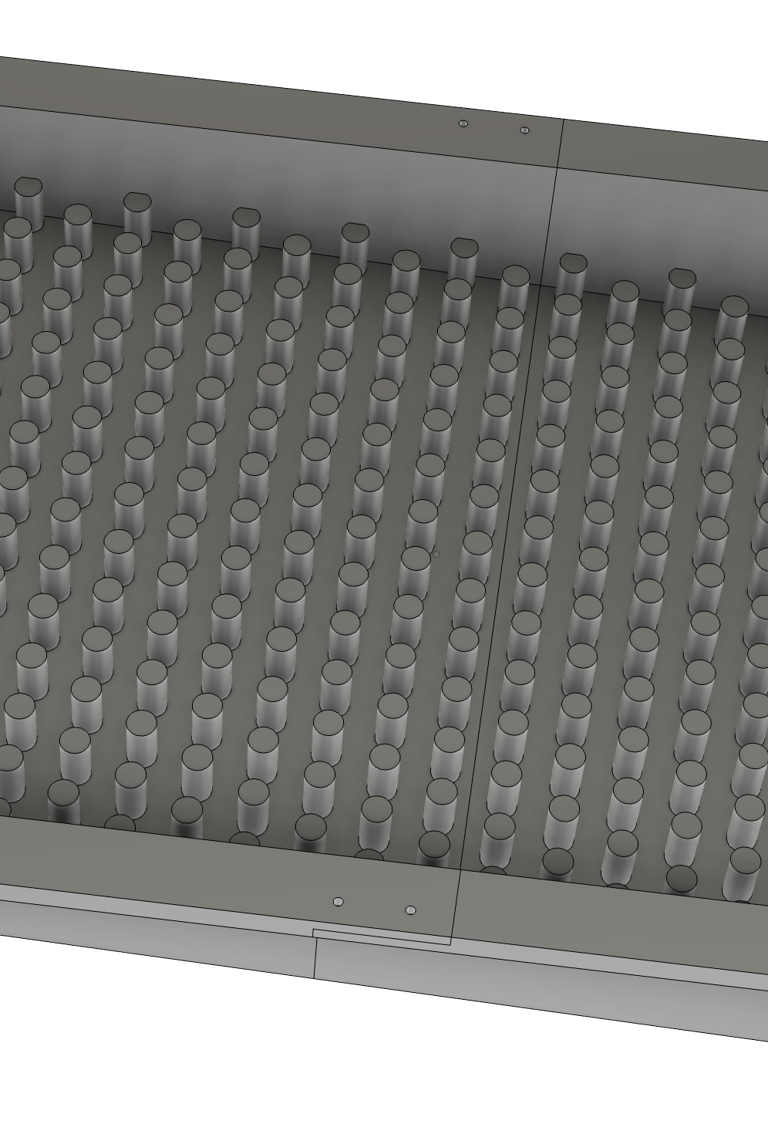
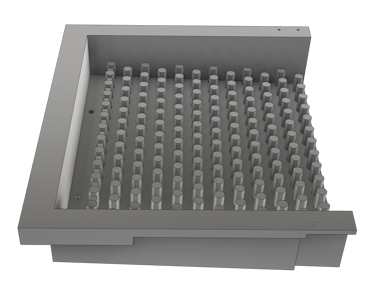
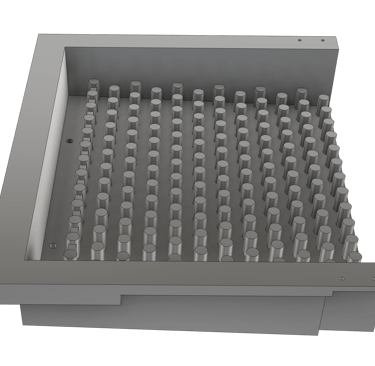
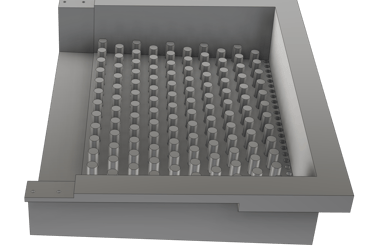
The NFT tray was designed with two 6mm diameter inlet ports and a 15mm tall dam around the inlets. The lower part of the tray contained closely spaced holes that allowed nutrient solution to drip back into the media tank. The tray had a drop of 20mm over its length, corresponding to a 4% slope from inlet to outlet ports. The tray was covered with support pegs that were 20mm high and 10mm in diameter - and spaced in offset rows 20mm apart. They were designed for the lower mesh support to cover the pegs. Klavermat 300 capillary mat covers the full tray and is tucked into the upper trough with two entry ports. This helps ensure that the capillary mat is fully hydrated, and nutrient flows through the matting to support transplants in the early stage of growth, before the rhizoids can penetrate the mat and reach directly the nutrient flow. Henofa micro perforated black plastic film covers the entire tray.
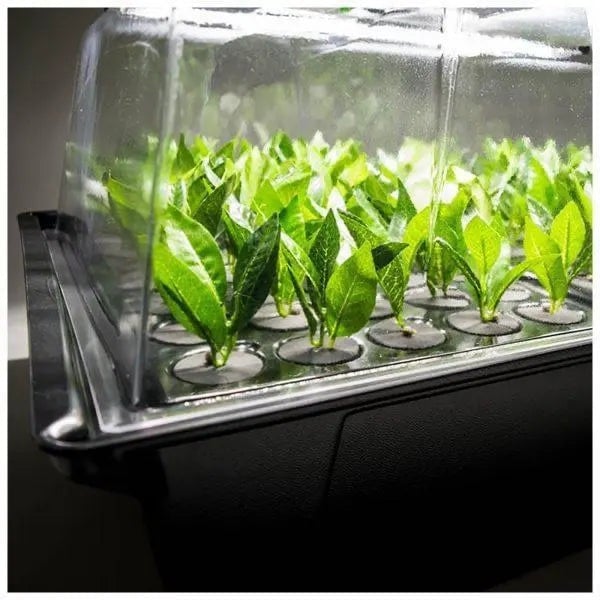
Normal X-Stream tray with cuttings
3D printed replacement tray
3. Setup
The 3D printed tray should have two T-connectors (commonly used for 1/4" drip irrigation systems) inserted through the inlet ports so that the top of the 'T' junctions are on the upper side of the tray with the two outlets pointing to opposite sides of the tray. Depending on the 3D print, it can be useful to use a hand drill with a 6mm bit to ream the printed aperture to the correct size, and a silicone sealant/adhesive can be used to fix the T-adapter in place if necessary. Allow all glued components to cure properly before use.
A submersible water pump is used to circulate the nutrient solution. USB-powered aquarium pumps are suitable and can be found for £6-8 online. An example is shown (right), which draws 3W and has a capacity of 200L/h. (This is the same as that used for the Mini and Midi NFT systems). The rate of flow can be controlled by closing an inbuilt shutter over the intake, and this is set fully open. A ~20-25cm piece of 5mm ID, 7mm OD silicone tubing is connected to the outlet port of the submersible aquarium pump. This requires stretching of the tubing over the larger diameter outlet port (flexible silicone tubing is required), and provides a tight fit.
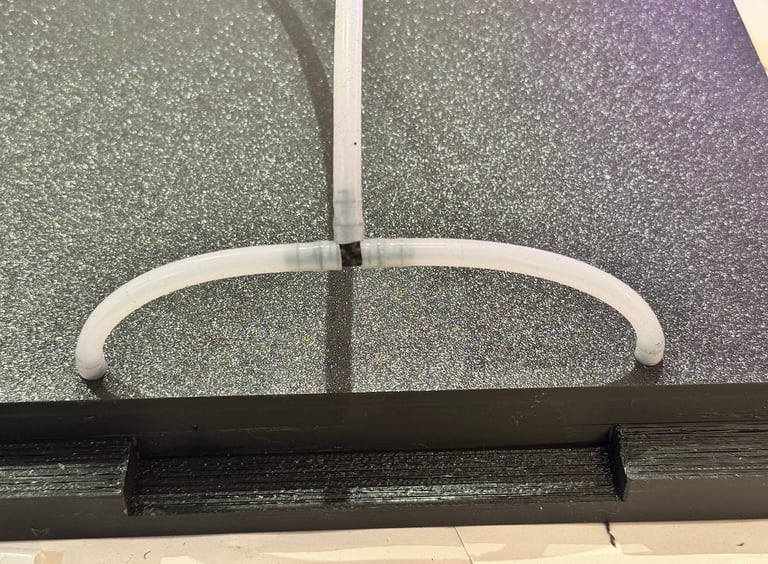
The 1/4" irrigation T-connectors provide connections for the NFT tray. Two ~8cm lengths of silicone tubing are pushed over inlet ports and themselves connected with another T-connector to act as a reducer. This third T-connector is then available to be connected to the submersible pump via the longer section of silicone tubing.
The pumps have suckers on their base, which are used to fasten the pump inside the base of the X-Stream tank.
The free end of the silicone tube connected to the pump can be connected to the bottom end of the remaining free T-connector as the tray is inserted into the top of the X-Stream tank. At the same time, the waterproof lead for the pump is slotted under the tray at one of the spaces provided at the corners of the X-Stream vessel, which provides a conduit for this, and also can be used for a supply tube for an air bubbler, or sensor lead in more elaborate setups.
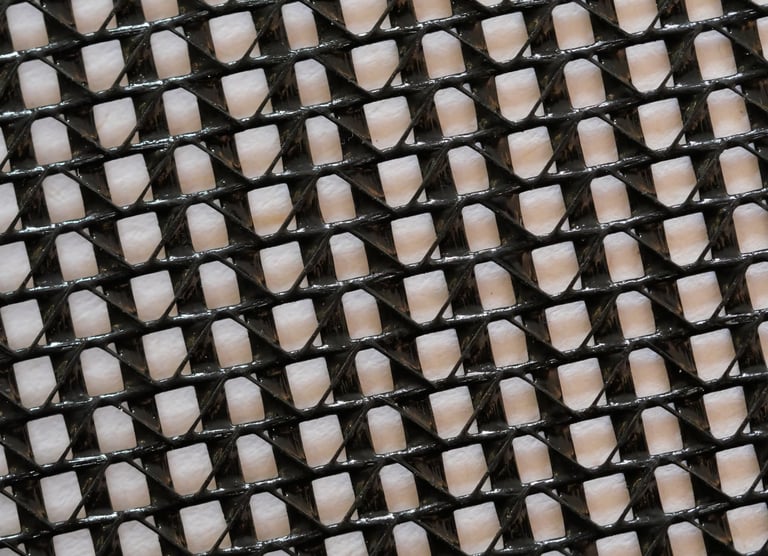
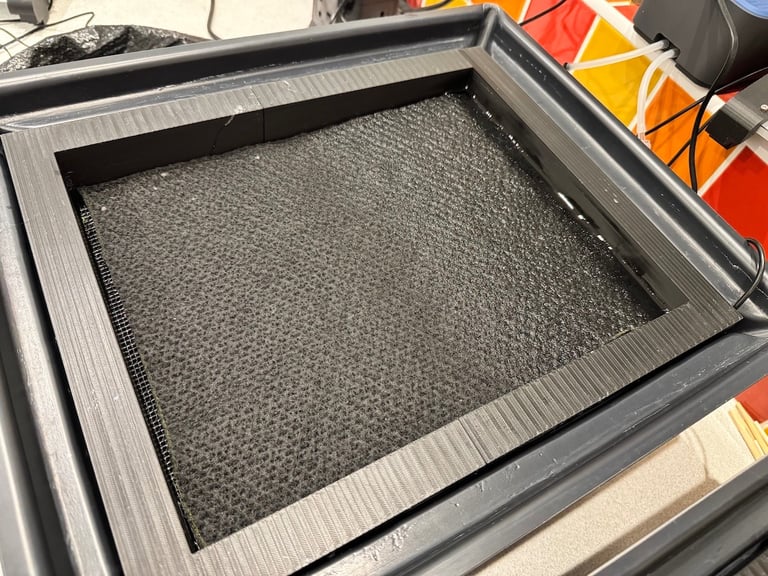
A layer of heavy duty 220gsm black PVC mesh (available from Amazon in 2m width, £8.99/m and pictured right) is cut to size (28.5cm x 43 cm) to fit into the 3D printed tray and sit over the support pegs, leaving a gap where the inlet flow and dam are. This provides a layer of support to stop any sagging of the capillary matting.
A piece of pre-cut Henofa Klavermat 300 capillary matting (28.5cm x 46cm) is layered over the top. This piece should be several centimetres longer than the plastic mesh, so that a flap of capillary matting can be submerged in media behind the dam at the inlet. This acts as an efficient wick to draw solution into and through the capillary matting. Both the plastic mesh and the capillary matting should lie flat against the support pegs.
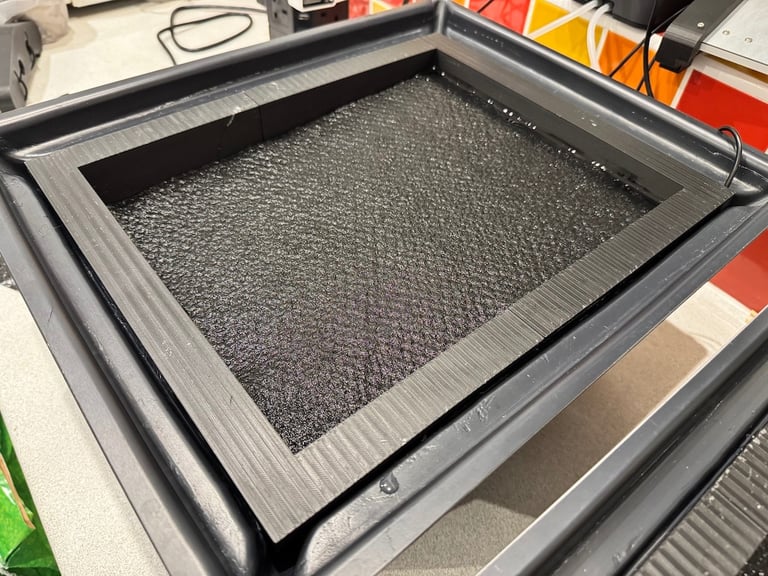
A piece of Henofa micro-perforated film (supplied as a loosely bonded layer with the Henofa Klavermat 300 + BF material) is cut larger (33cm x 52cm) to completely cover the capillary matting and extend to the edges of the tray, to exclude light as efficiently as possible (fourth right). The thin film will stick well to the top surface and sides of the tray after wetting, and can be trimmed in place to ensure a neat fit.
Note: The Klavermat 300 + BF layers have two important benefits - the capillary matting is black, light-shielding, and is highly efficient at drawing up water. Second, the attached micro perforated film has extensive and very fine (sub-millimetre) perforations. The fine and closely spaced perforations in the Henofa film make it a reliable surface for planting Marchantia tissue fragments or gemmae. However note that due to the small size of Marchantia spores, placing a suspension of spores on the film result in the majority of them being swept through the microperforations and end up underneath the film - so not recommended unless some form of encapsulation might be used. In practice, the use of the Henofa film greatly helps reduce problems due to algal growth (especially seen with mats without an impermeable covering) - due to effective permeability and light blocking. Any problems are usually due to over-wetting of nutrient solutions, with media being exposed on or across the growing surface. If difficult to obtain the specialist Henofa matting, it should be possible to find a suitable substitute by combining other capillary matting and a light-shielding membrane of another sort. Weedban50 or another perforated black plastic film would be a good place to start.At this point, the tank should be filled with nutrient solution. We use a commercial formula, Shogun Samurai Grow (for hard water), diluted 3mL per litre in tap water. The X-Stream 40 tanks will accept 12.5L of solution.
The pump needs to be connected to a USB power supply. Especially with multiple vessels, it is helpful to use a mains-connected multi-USB hub. The pump is run continuously at full capacity (set by adjusting the intake vent on the submersible pump). Allow the pump to run for at least 10 minutes until the capillary matting is thoroughly wet, and media is running across the tray and dripping back into the reservoir. Check the system regularly for proper nutrient flow.
The tray can now be 'seeded' with Marchantia gemmae or pieces of thallus.
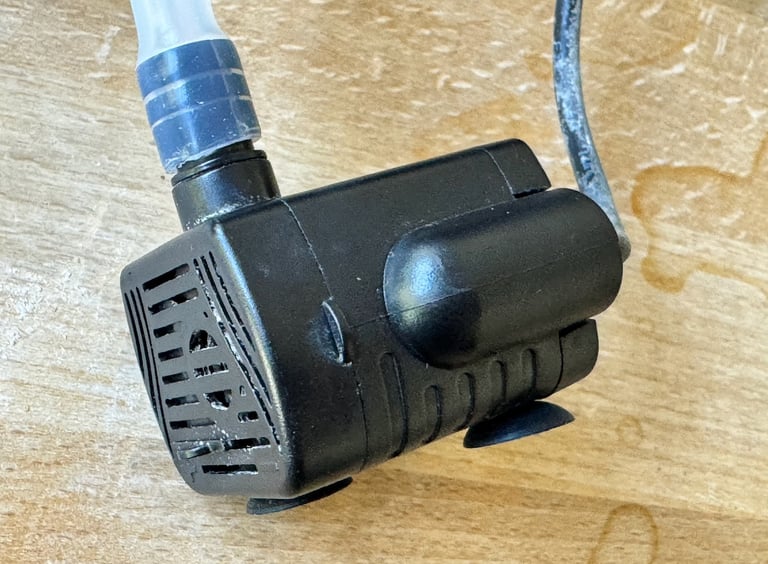
Submersible pump with silicone tube connected
Tubing connections at the underside of the NFT tray
Plastic support mesh
Running the pump to wet the capillary matting. The inlet dam fills and a watery front moves down the matting (here about 1/3 down the tray, click to enlarge).
Same matting after ~10 mins, showing complete wetting of the Klavermat 300 capillary mat layer.
Note:
Earlier tray designs had a drainage angle of 6-8%. This tray has a drainage angle of 4% and produces a more even and slower flow of nutrient media across the tray, and produced better results. However, this may be a function of pump flow rates and relative speed of draining from the lower surface of the tray vs. flow through the surface capillary matting - something for further testing. Meanwhile, note that 3-4% slopes are most commonly used in NFT hydroponic systems.
The trays were loaded with 3mL per litre of each Shogun Samurai Grow parts A and B. About 12.5 litres for each larger X-Stream 40x tank. The trays were layered with (1) Plastic mesh, followed by (2) Klavermat 300. Ensure that the Klavermat 300 is tucked into the top channel for media entry.
4. Grow lights
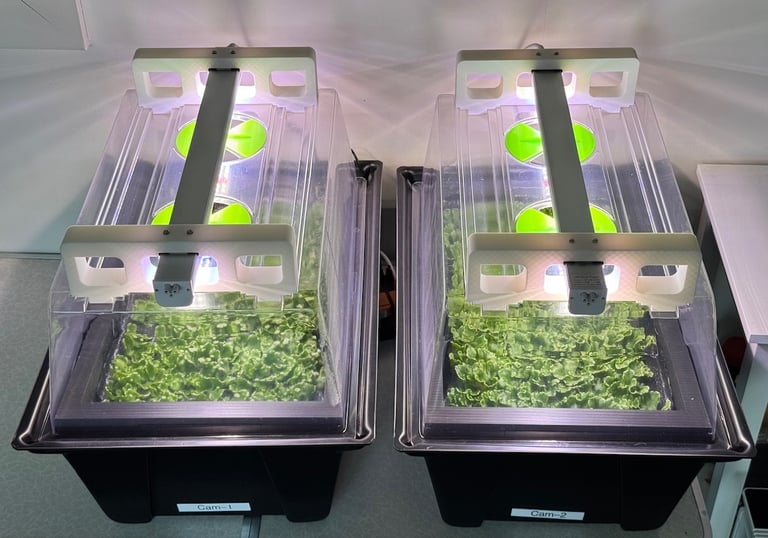
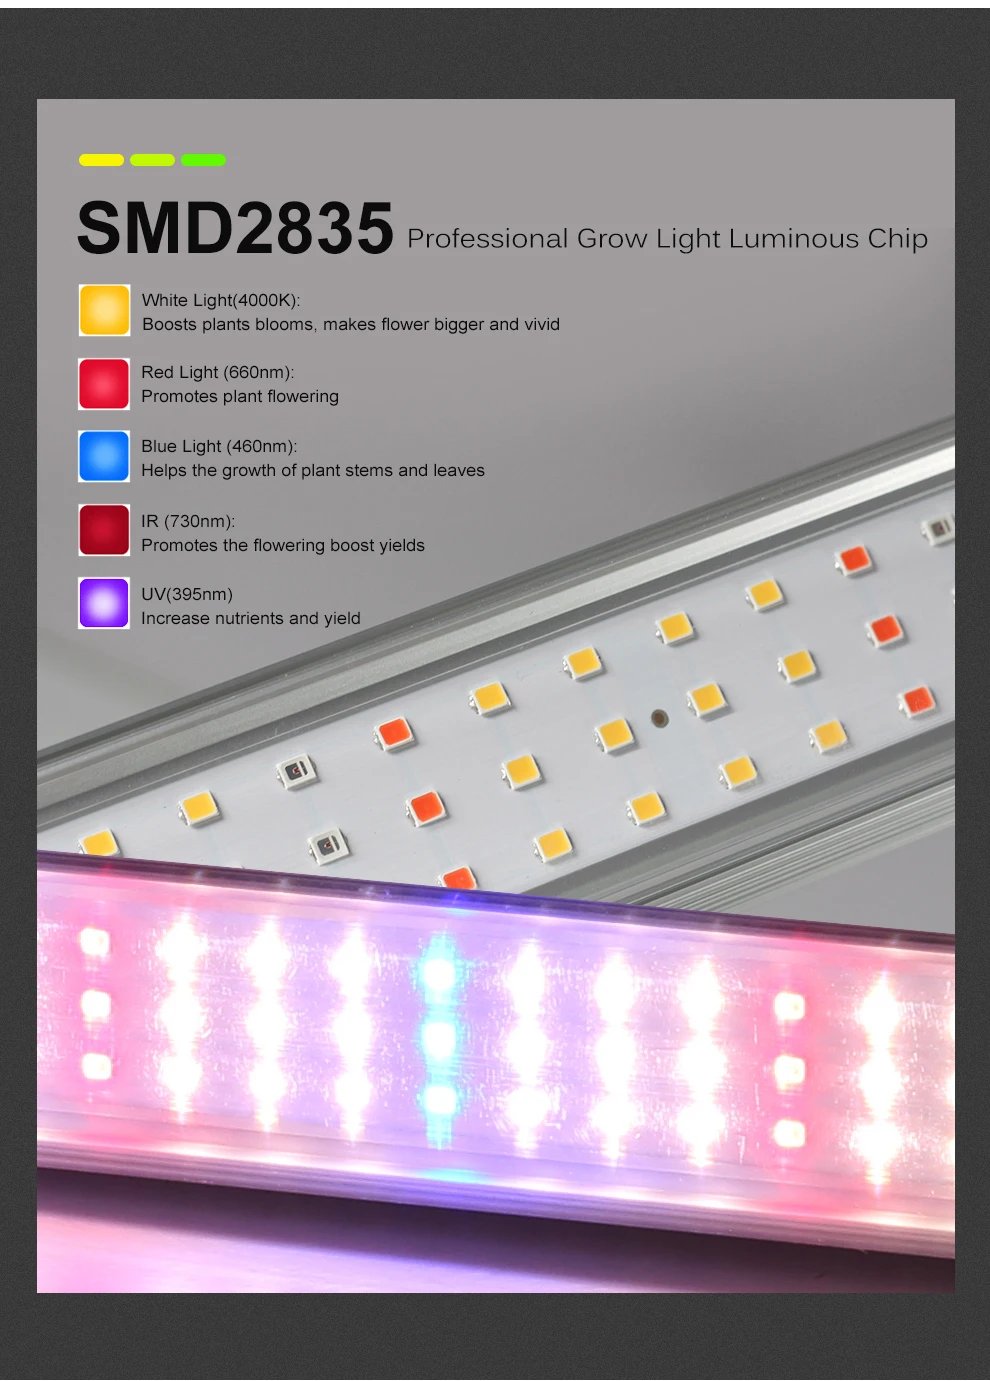
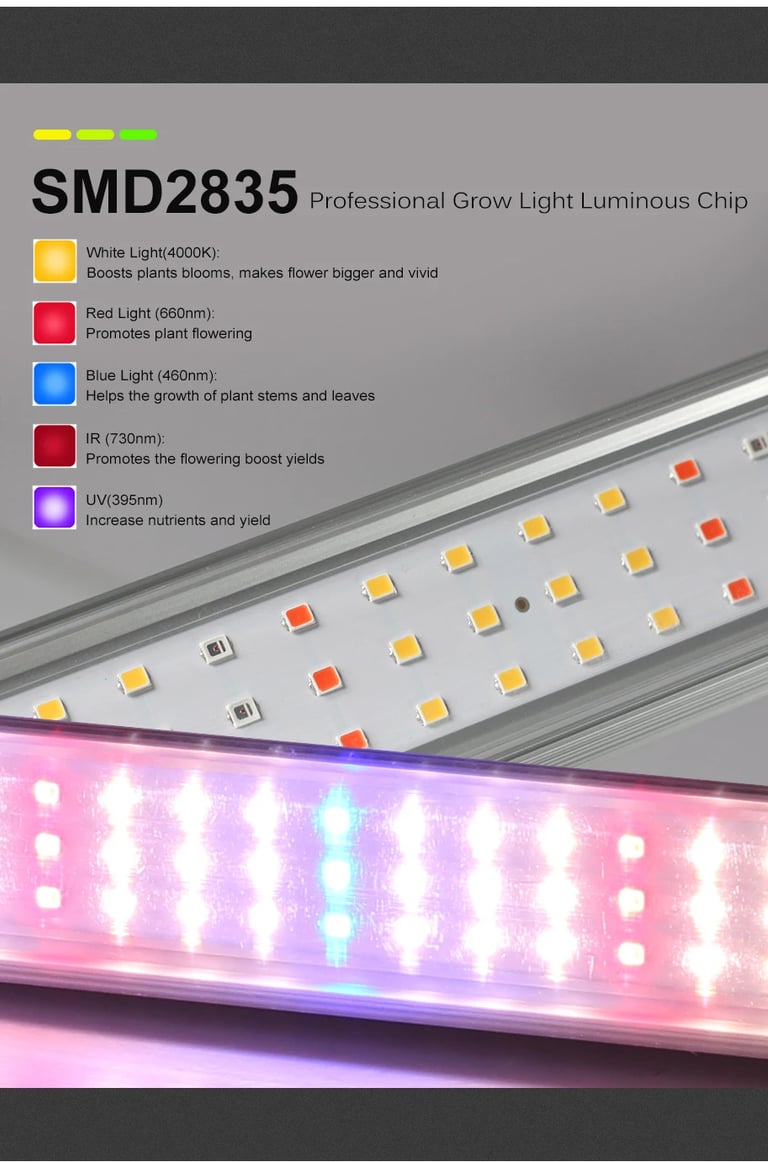
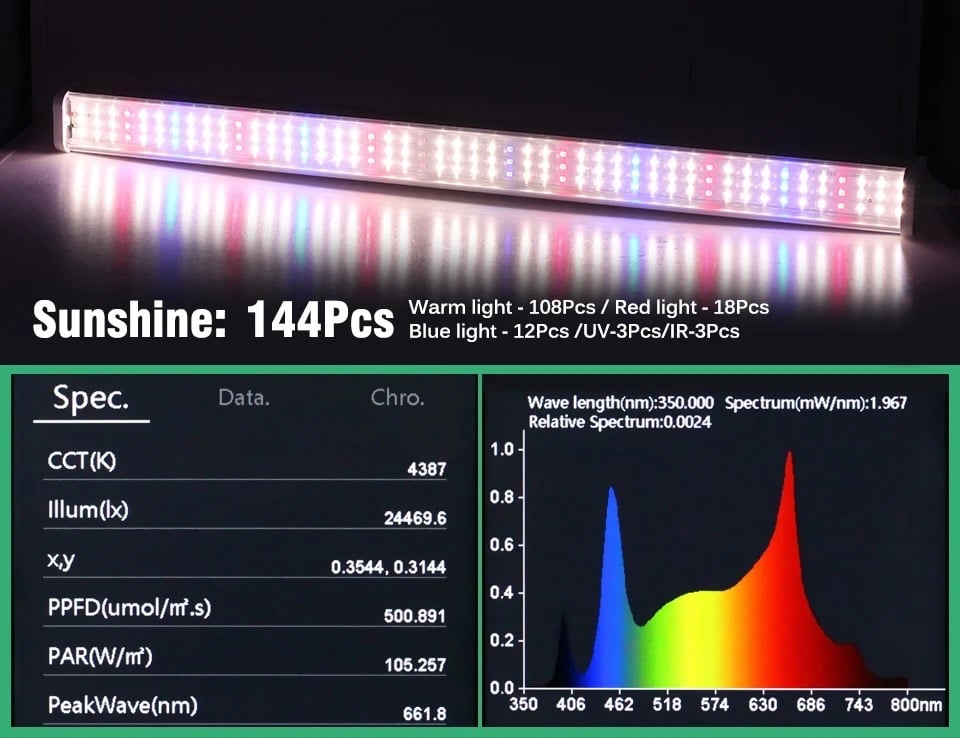
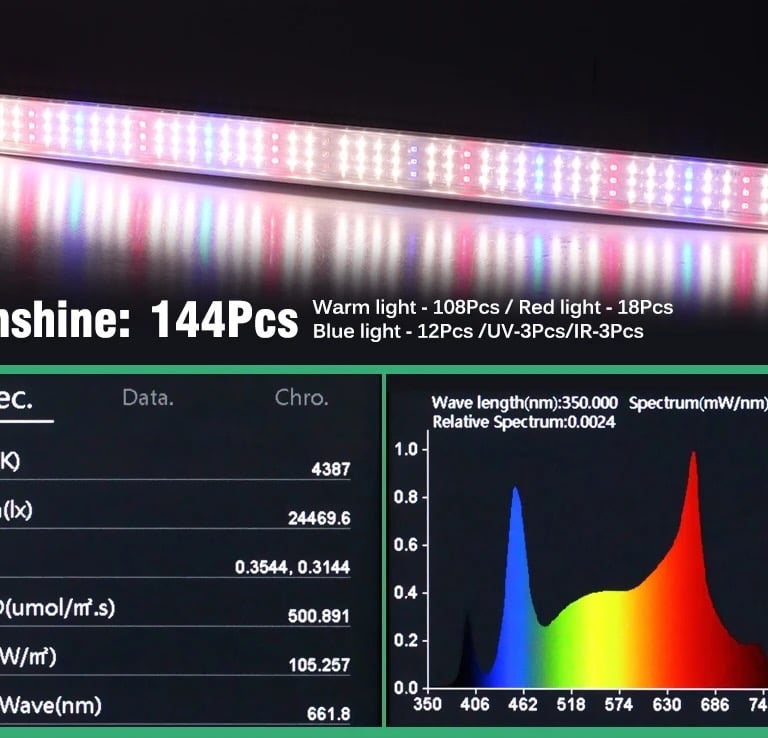
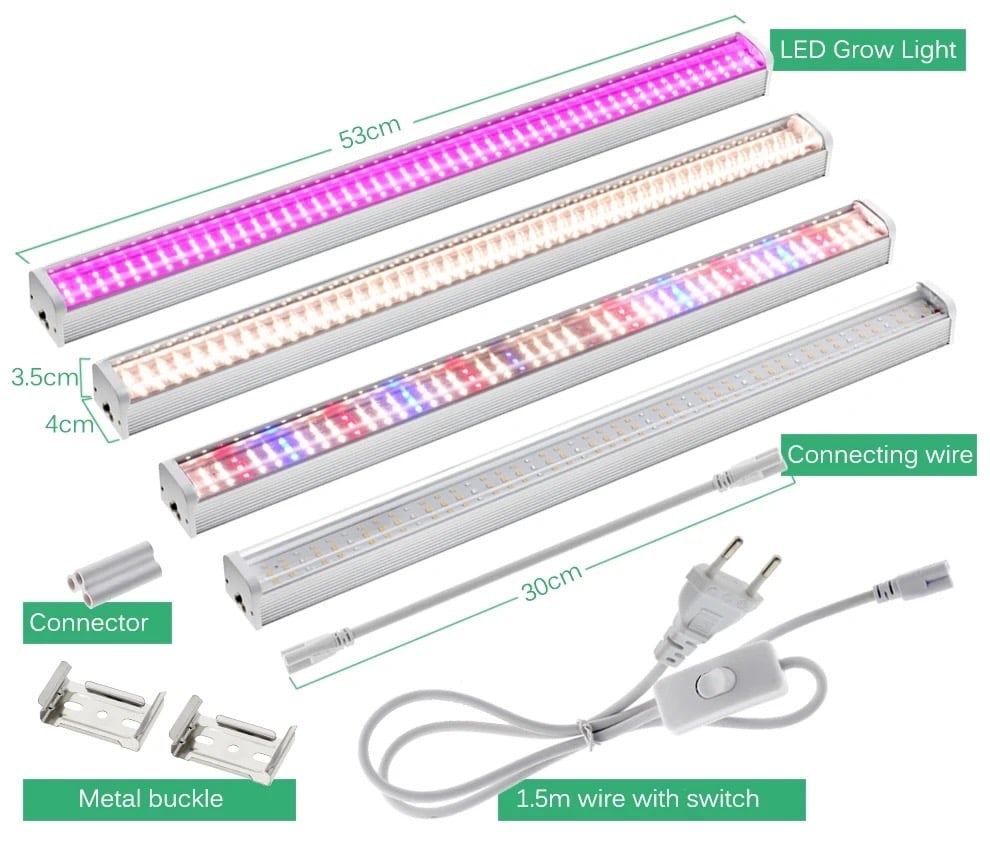
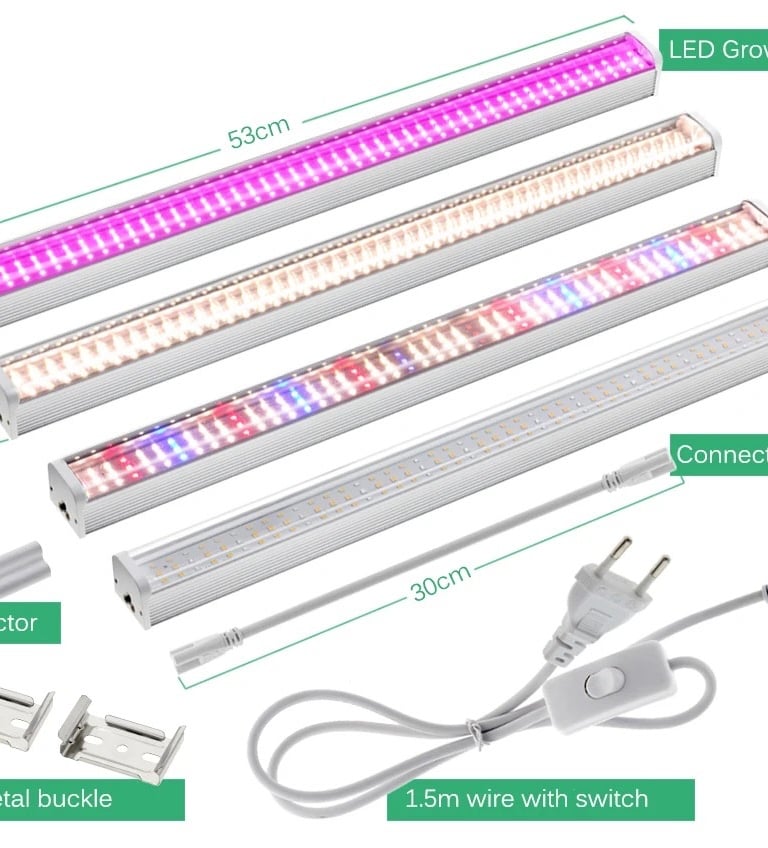
The use of the larger X-Stream propagators required a redesign of the lighting system. I chose 53cm LED strips which have a multispectral array of LEDs suitable for plant growth. Each 53cm strip contains 144 LEDs: 108 warm white (4000K) LEDs, 18 red LEDs, 12 blue LEDs, 3 UV LEDs and 3 far-red LEDs. (The strips are also available fitted with all white or a mixture of only red and blue LEDs. I would avoid these unless you have a specific application in mind). The strips run relatively cool, and are powered directly from mains voltages from 110V-240V, with T5 connectors which can be daisy-chained. The LED strips can be purchased on Aliexpress as a kit of 2-6 strips with hardware brackets and electrical cabling, which come out to ~£10 per LED strip.
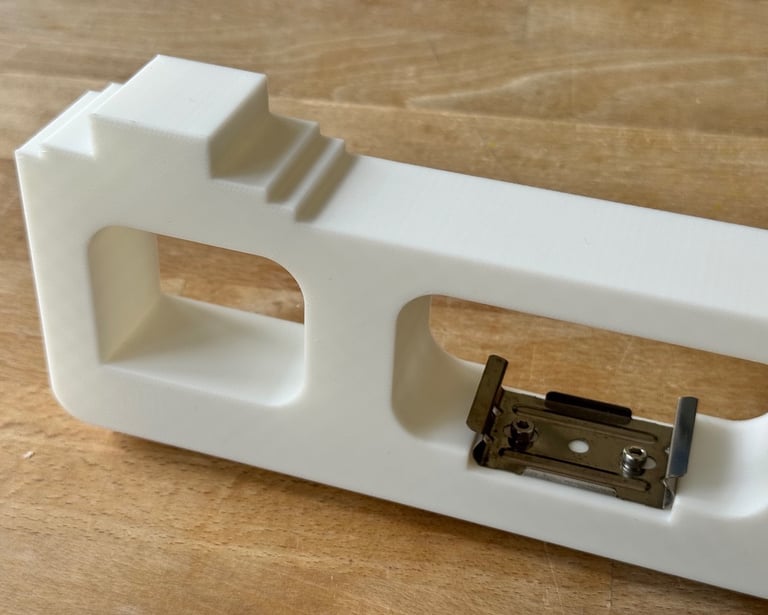
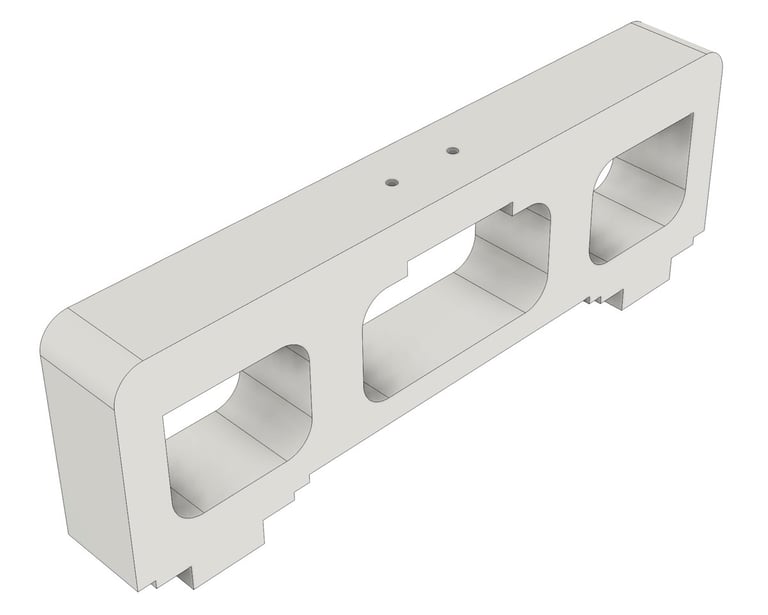
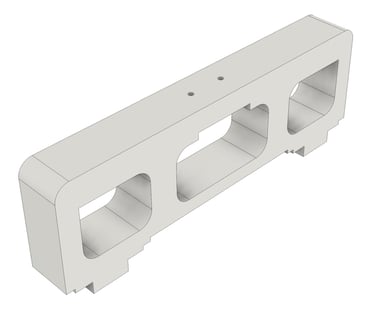
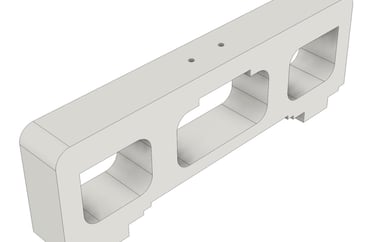
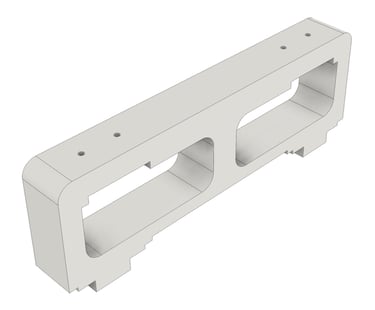
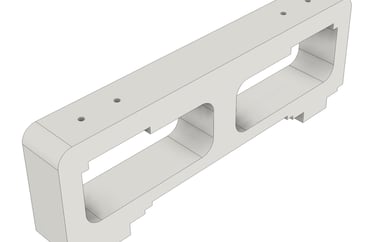
In order to adapt the LED strips to the X-Stream 40 vessels, I printed two different LED supports for either single or twin LED strips (see below). For growing Marchantia, a single LED strip is sufficient. The balance of wavelengths is helpful - effectively white light, any light spill is neutral and plants are easy to inspect (compared to red plus blue 'purple' grow lights), while the supplementary LEDs help promote vegetative growth and eventual shift the sexual phase of growth. This is my favourite propagator for spore production.
The LED strips are also available in 1.05 meter lengths and I have used these successfully with the larger XXL-NFT trays based on the Autopot Tray-2-Grow system. Both the 53cm and 105cm strips have a lightweight but rigid aluminium backing which aids mounting and support of the lights, as well as cooling.
The 3D printed LED supports have holes for fixing the metal brackets supplied with the LED strips with M3 bolts. The LED strips simply clip on to the brackets to make a self-supporting assembly, and the supports rest neatly and securely in the channels that are moulded into the X-Stream propagator lids. X-Stream vessels are also available from suppliers with SunBlaster 45cm LED lights, but these have poor red and far red light characteristics vs. the chosen LED strips, and appear to require a fixed voltage.
Once installed on the propagators, the LED strips are simply plugged into a mains supply. I usually use a 24h photoperiod for growing Marchantia, but an electronic timer can be added. The linked timer can be programmed for daily cycles or minute-by-minute switching (e.g. for pump or fan control in a hydroponics setup). Note: in the grow-pod systems described here, the pumps and lights are run continuously. One just needs to check every day or so for any evidence of (rare) failure, so fairly maintenance free.
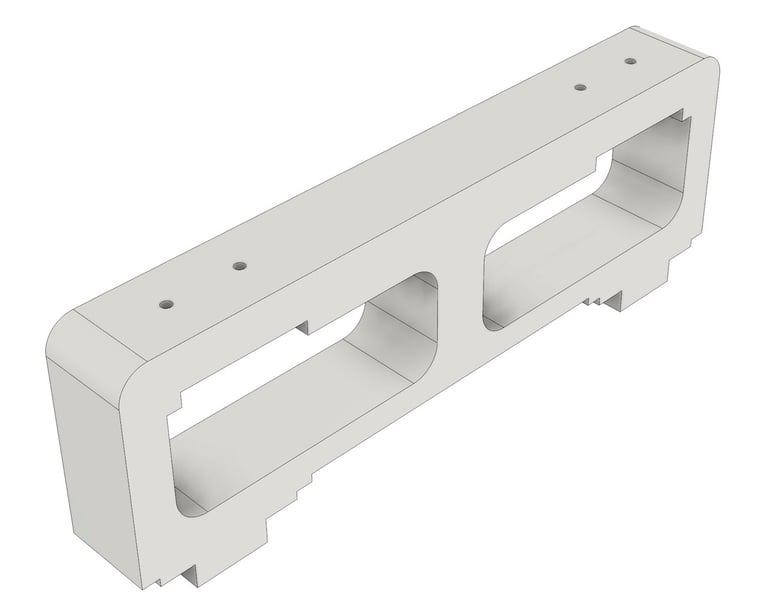
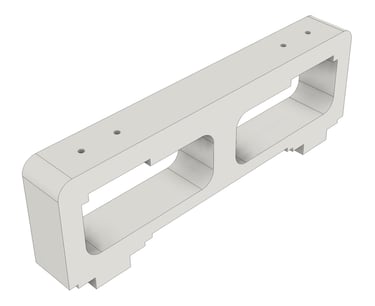
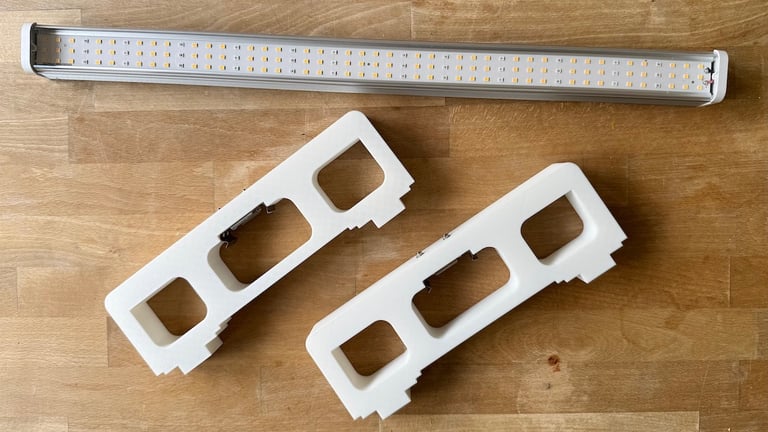
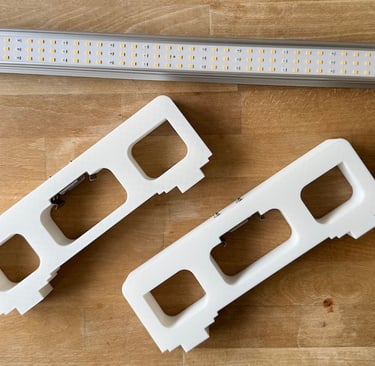
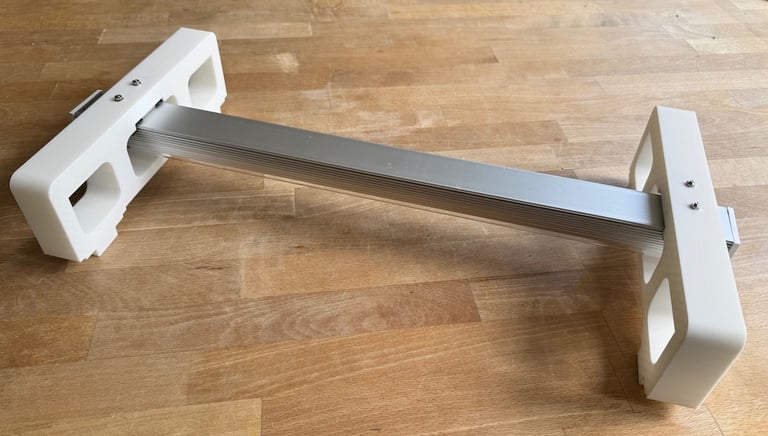
Single LED support
Twin LED support
Metal support bracket for LED
Components for LED support
Assembled LED support
5. Plant Culture
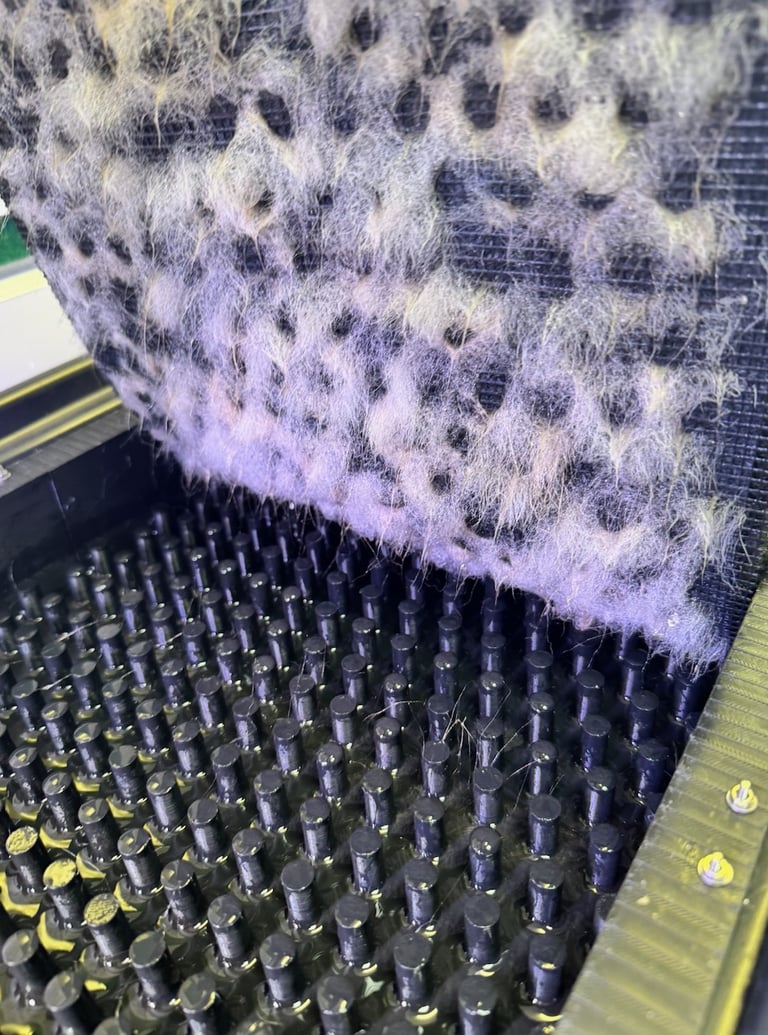
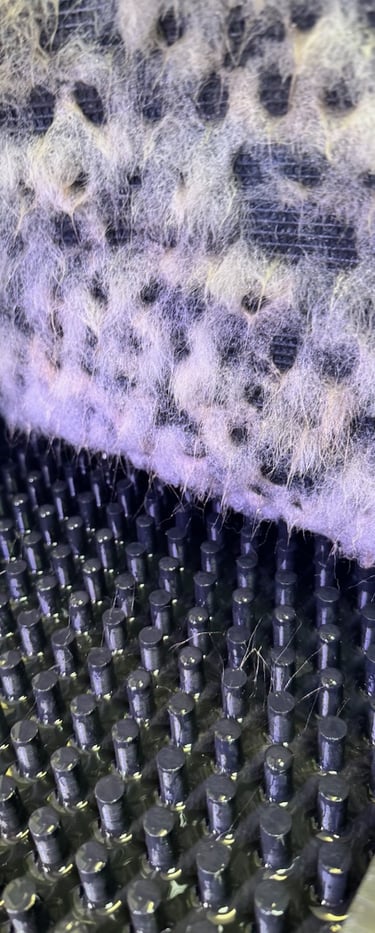
Marchantia gemmae or thallus fragments can be directly planted on the micro perforated surface of a hydrated grow-pod and the plants should thrive. For vegetative growth and production of biomass, fastest growth is seen after transplantation of thallus pieces with an intact meristematic notch. Smaller fragments or gemmae also grow well but, with a smaller cell mass, take a week or so longer to catch up with better established plants. Vigorous vegetative growth on the upper surface of the grow-pod (shown below after three weeks) is accompanied by healthy growth of rhizoids through the hybrid matting and into the lower chamber around the support pillars and flowing film of nutrient solution (below). Healthy growth is characterised by white-coloured rhizoid masses and bright green thalli. Algal contamination isn't evident, and the top and lower surfaces of the tray are clean of obvious microbial growth. Generally, the use of the micro perforated plastic film is effective in suppressing nuisance algal growth. If some is seen, investigate whether there is any surface nutrient due to underlying water pressure or spillover. The high density of micro perforations in the top film provide little resistance to water flow if pushed from underneath - and algae will grow quickly in these rich conditions if given access to light and the liquid media.
If the plants are maintained for 4-6 weeks, antheridiophores and archegoniophores emerge prolifically under 'standard' 24h LED strip illumination without need for far-red light supplementation. (Note: all of these suggestions apply to Cam-1 and Cam-2 derived isolates . Work with other Marchantia isolates like Tak-1/2 may require more extreme induction conditions for shift to the sexual phase, and timing may be different). As these mature, antheridiophores can be harvested, and dropped into a container of (tap) water. Motile sperm are released in the water, these can be tipped off into a spay bottle and used to fertilise receptive female plants after thorough wetting with spray. I usually repeat this once or twice to account for different stages of development. Also I strongly advise that you grow the male and female plants in separate propagators. Secretions from antheridiophores can provide a niche for fungal infection. One the 4-6 weeks required for production of mature sporangia, fungi will sporulate and spread throughout a propagator. Subsequently harvested Marchantia spores may be contaminated with fungal spores, which can interfere heavily with processes like transformation that require axenic culture and selection. If the male and female plants are kept separate, the male plants can be disposed after fertilisation and avoid these issues. Images of well fertilised Cam-2 plants are shown below. A set of Super-NFT grow-pods will produce many thousands of sporangia, usually kept as hundreds of tubes containing three sporangiophores per tube, dried over silica in a drying cabinet and stored cold or frozen. Marchantia spores stored at room temperate will loose viability over a 6-18 month period. Lower temperatures help maintain viability, but this is still to be fully characterised and optimised. In our experience fridge storage (4ºC) is good for at least a year.
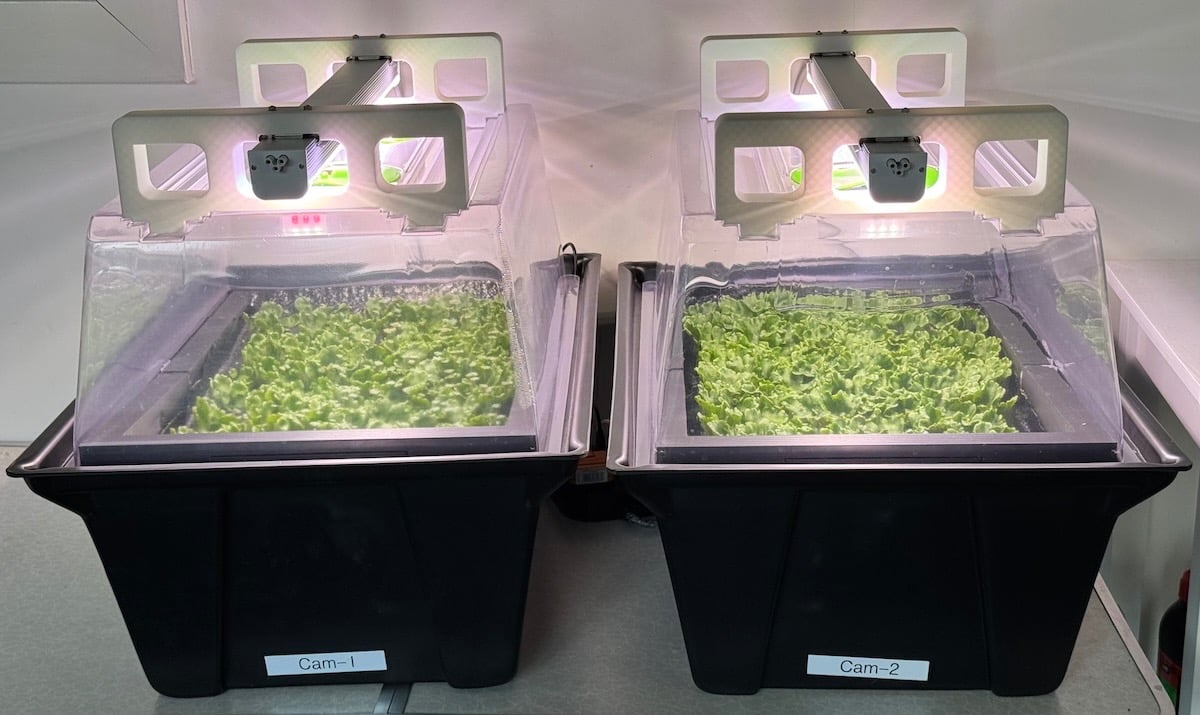
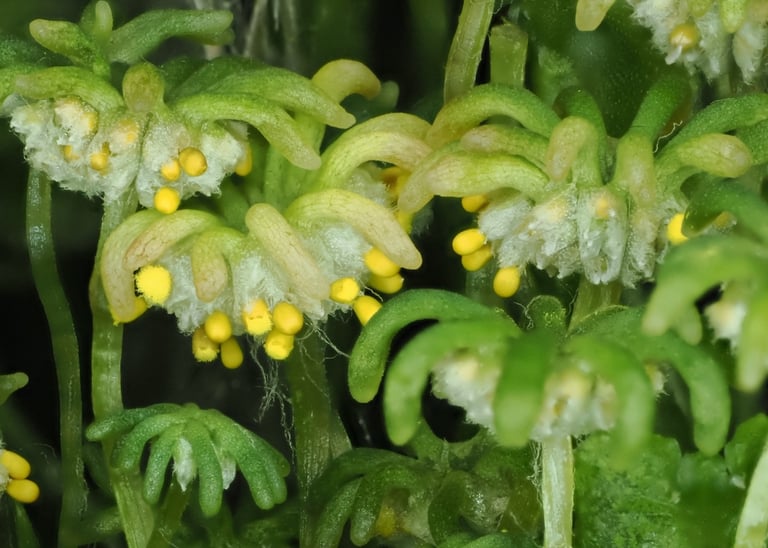
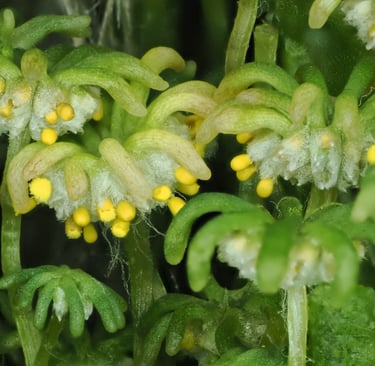
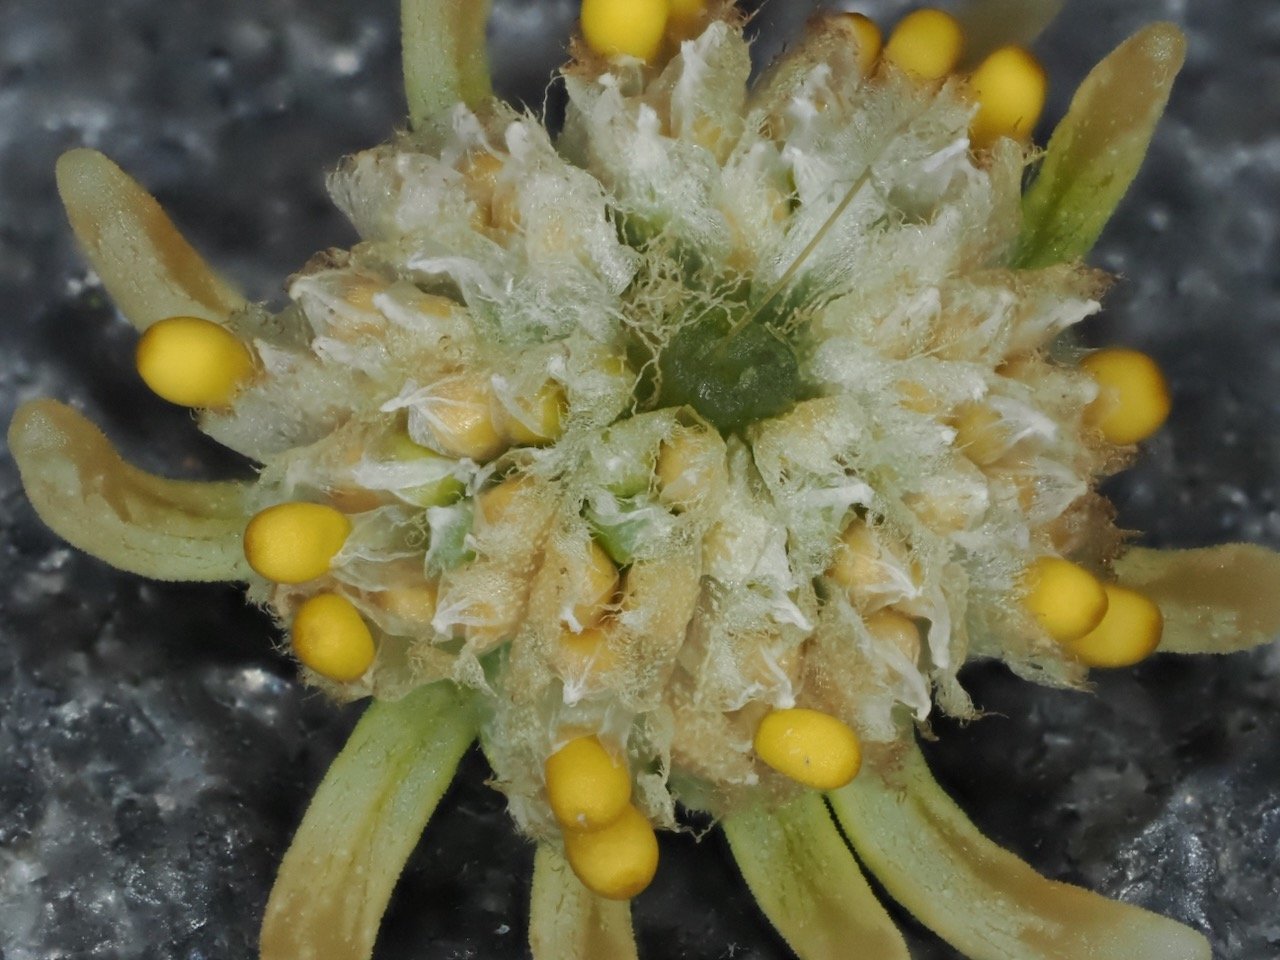
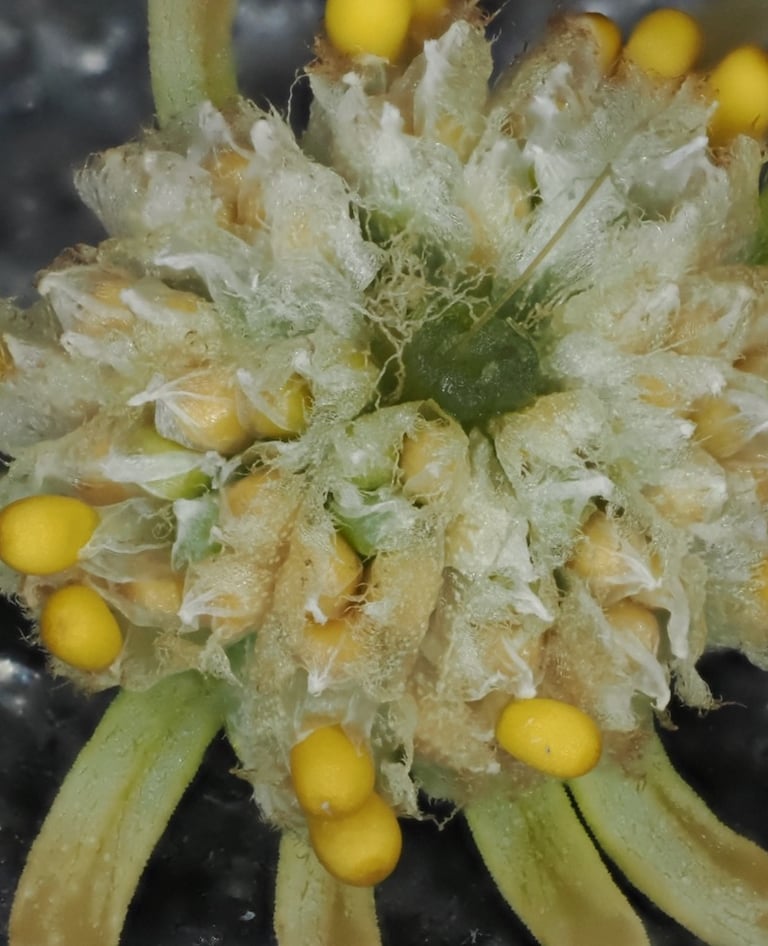
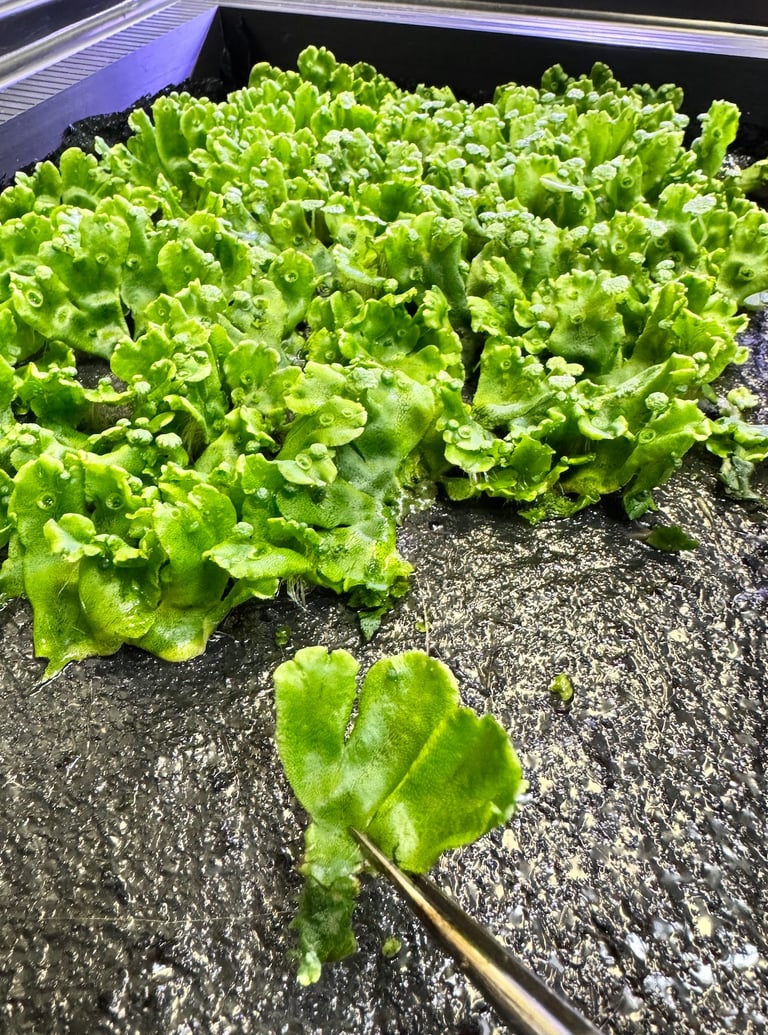
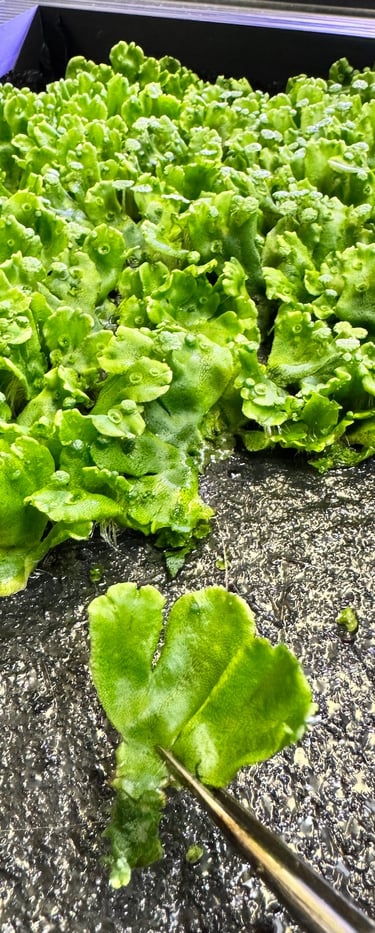
3 week old thallus being harvested from a Super-NFT grow-pod
Underside of the growing surface after 3 weeks showing rhizoids
Sporangiophores 6 weeks after fertilisation
Close-up view of the underside of a sporangiophore after efficient fertilisation
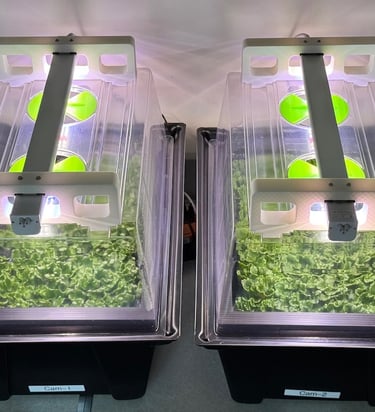
Male (Cam-1) and female (Cam-2) plants growing in separate Super-NFT grow-pods
Download Super-NFT 3D files
Super-NFT tray T.step (3D CAD exchange file) - top half of tray
Super-NFT tray T.stl (3D CAD exchange file)
Super-NFT tray B.step (3D CAD exchange file) - bottom half of tray
Super-NFT tray B.stl (3D CAD exchange file)
Super-NFT single LED support.step (3D CAD exchange file)
Super-NFT single LED support.stl (3D CAD exchange file)
Super-NFT dual LED support.step (3D CAD exchange file)
Super-NFT dual LED support.stl (3D CAD exchange file)
Additional parts
40 site X-Stream propagator tank: https://ghedirect.co.uk/product/x-stream-propagator-tank/
40 site X-Stream propagator lid: https://ghedirect.co.uk/product/x-stream-propagator-lid/
53cm Full Spectrum LED Grow Lights for greenhouse plants ( sold as packs): https://www.aliexpress.com/item/1005008304374321.html
USB-powered Roedak-Hua ring light with controller for plants: https://www.amazon.co.uk/spectrum-halo-adjustable-automatic-brightness/dp/B0C98W22Y2
USB-powered submersible water pump: https://www.amazon.co.uk/gp/product/B07TW39QXP
Plastic mesh for support: https://www.amazon.co.uk/dp/B00VG5AU30
Henofa Klavermat 300BF: http://capillarymatting.com/product/klavermat-300-bf-capillary-matting
Silicone tubing 7mm x 5 mm ID (18cm length): https://www.amazon.co.uk/sourcing-map-Silicone-Flexible-Translucent/dp/B07DLZY7RT
T-shape micro-irrigation fitting: https://www.amazon.co.uk/dp/B0912TRNG2
Multi USB-A mains adapter: https://www.amazon.co.uk/dp/B08L6Q43HF
Shogun Samurai Grow hydroponics concentrate: https://www.amazon.co.uk/SHOGUN-Samurai-Hydro-Grow-Water/dp/B07DDNNDSN
Note: the weblinks are provided as a examples, with connected details - not intended to carry any implied recommendation of the supplier.
Marchantia as a platform for engineering plants
About Biomaker OpenPlant Cambridge Lab
Jim Haseloff
jimhaseloff@gmail.com

